Cymmetri allows all users to be able to perform self-service actions such as Single Sign-On, Password Reset, MFA Reset, Approve Access request for other users, Re-certification approvals, and Team Configurations among others. Cymmetri's My Workspace is the central console where such user actions can be performed from.
In Cymmetri's My Workspace section, users can navigate to various other sections using the navigation panel located on the left side on the Dashboard.
Administrators, with their privileged access, have an extended menu section labeled 'Admin' situated above the standard 'My Workspace' menu.
Administrators can seamlessly switch between their 'My Workspace' and the 'Admin' section by selecting the corresponding option from the Main Menu Navigation.
The logged-in user can access the Settings page by clicking on the user menu located in the header.
Under the Settings sub-menu, the users can:
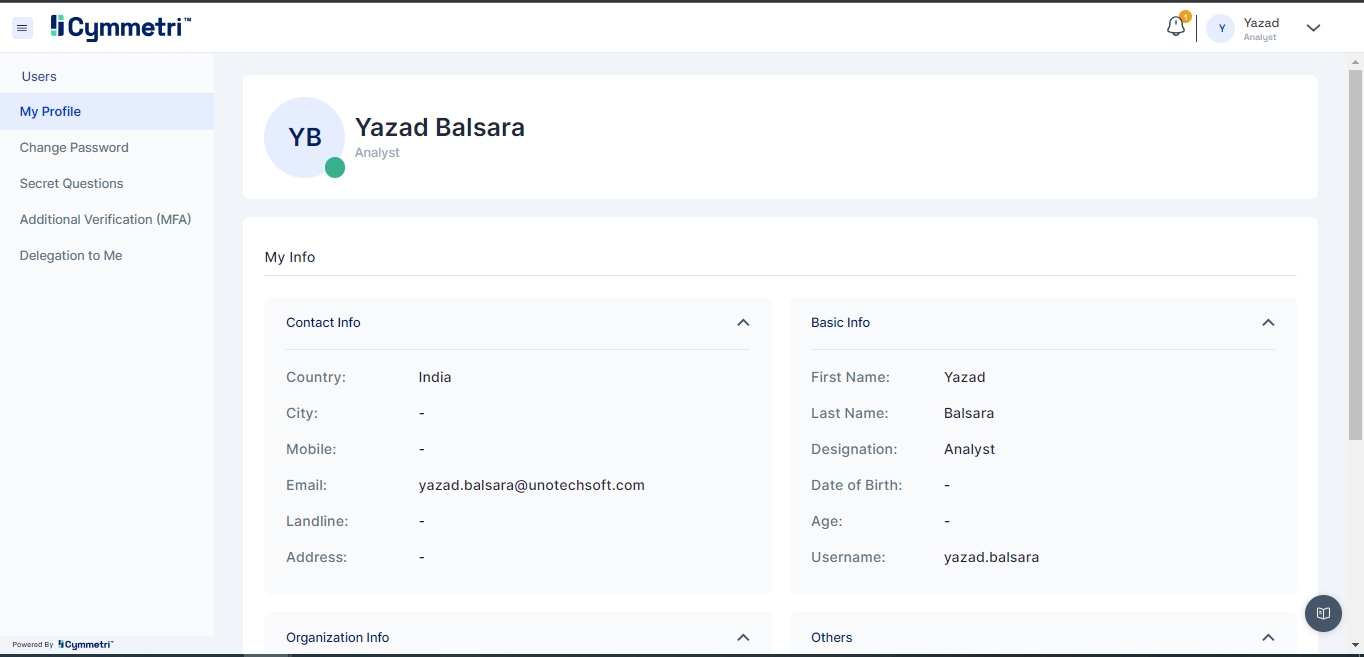
View their Profile
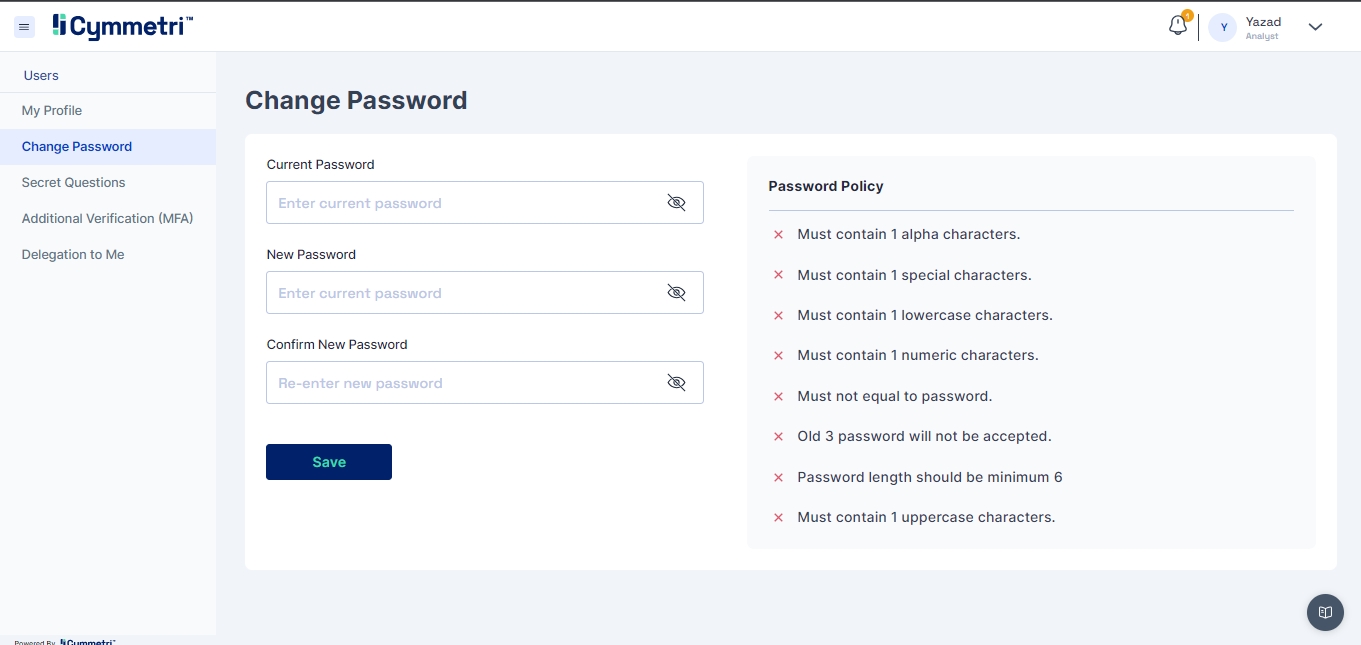
Change Password
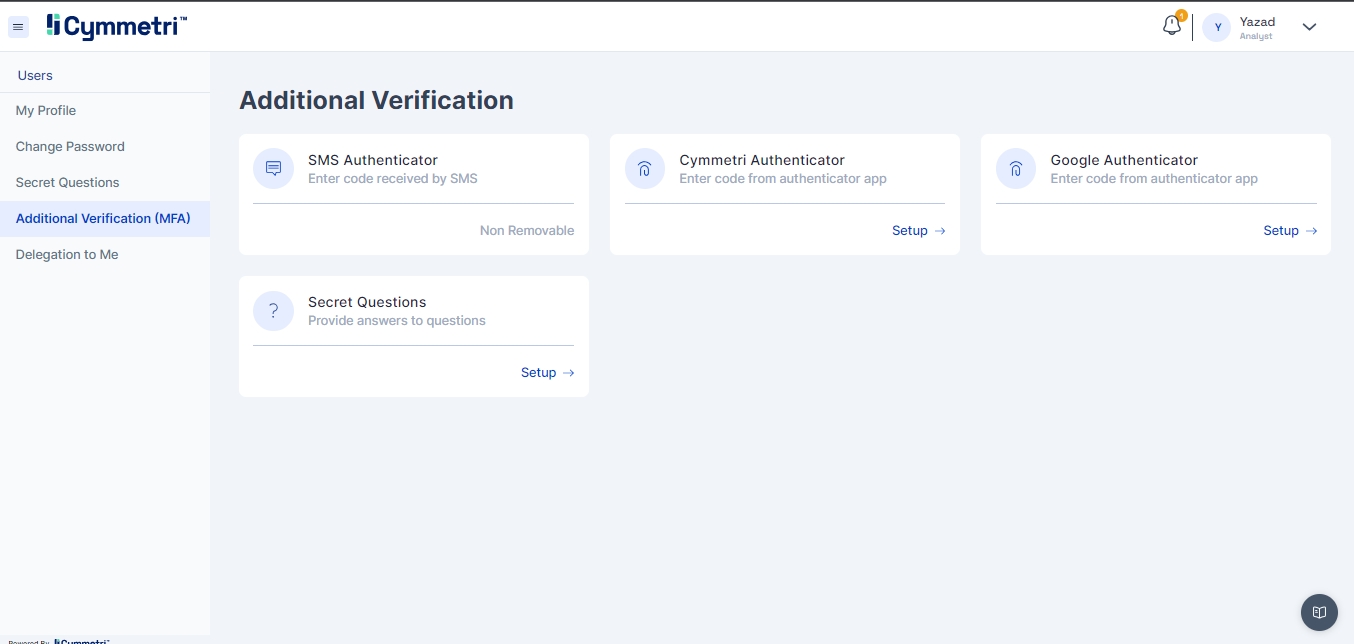
Manage Additional Verification (MFA)
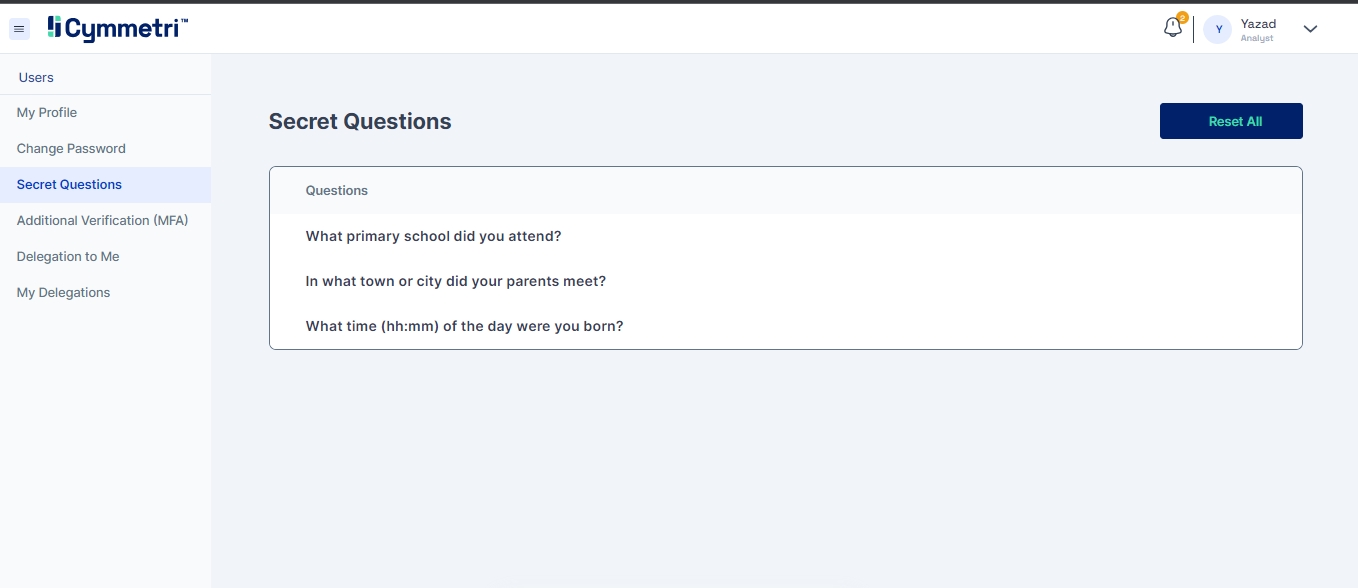
Reset their Secret Questions
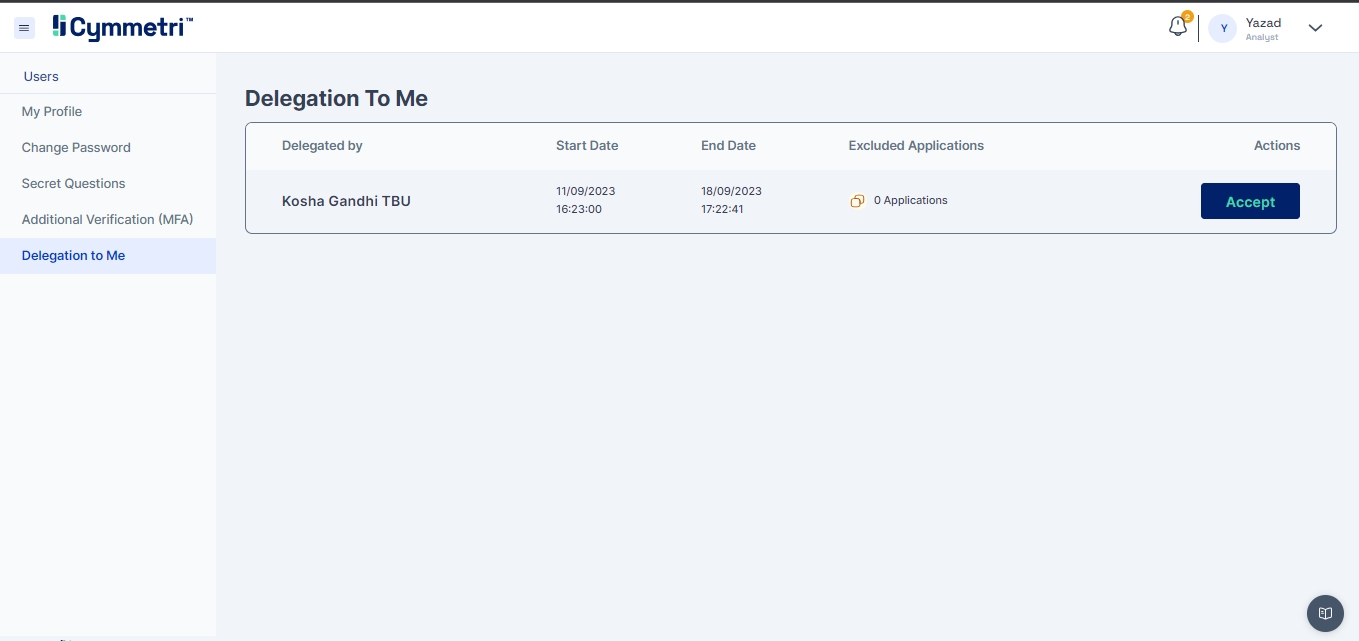
View the Delegations assigned to them
Delegate their work to other users(optional)
The My Profile menu allows users to easily access and review their personal profile information. This functionality offers individuals a comprehensive view of the data associated with their account.
The logged-in user has the ability to independently change their password through the 'Change Password' menu.
Using the Additional Verification(MFA) menu logged-In users can self manage their Multi-Factor Authentication options enabled by the Cymmetri Administrator. The user can see the list of available options and can remove and setup these options as needed.
The Secret Questions menu allows the user to view and reset all the existing secret questions configured by the user
Userss can view any delegations assigned to them and login as the assigned user and perform various tasks on behalf of the assigned user in the Delegation to Me section.
Users can delegate their Cymmetri My Workspace access to a designated user, who can then login as the delegating user in the Delegation to Me section
A Cymmetri user can be logged out either by the system through the time-out policy, or the user can logout using the My Workspace logout options as shown below-
The End User Login Process commences when a user accesses their designated tenant instance login page, which typically conforms to the structure: https://<company-name>.cymmetri.io
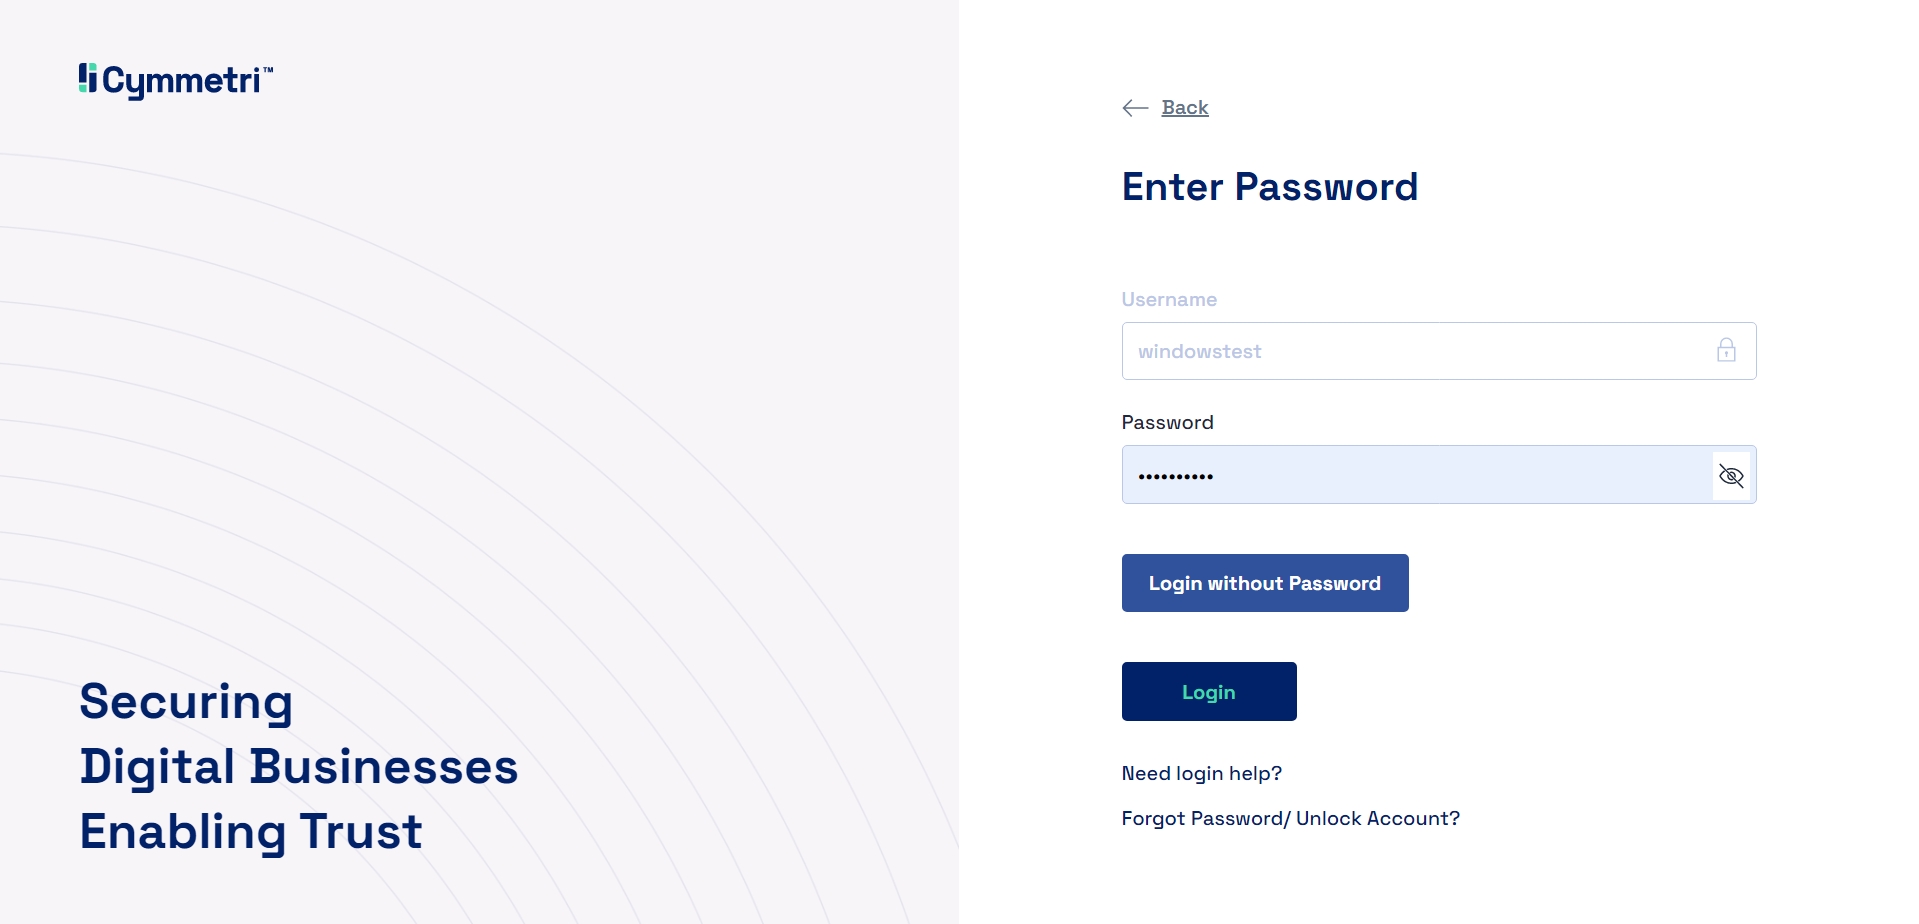
Once, on the Cymmetri Login page, the user needs to enter their username, users receive their login credentials on their corporate email as shown below:
If the administrator has enabled password-less login option, then the user sees the Login without Password button, else the user sees only the Login button.
The user has the flexibility to select either a password-based authentication or a passwordless authentication mechanism during the login process.
The steps below indicate the password-based authentication mechanism:
Once the username is entered and the user clicks on Next, the user then needs to enter the password received on their email, and click on the Login button.
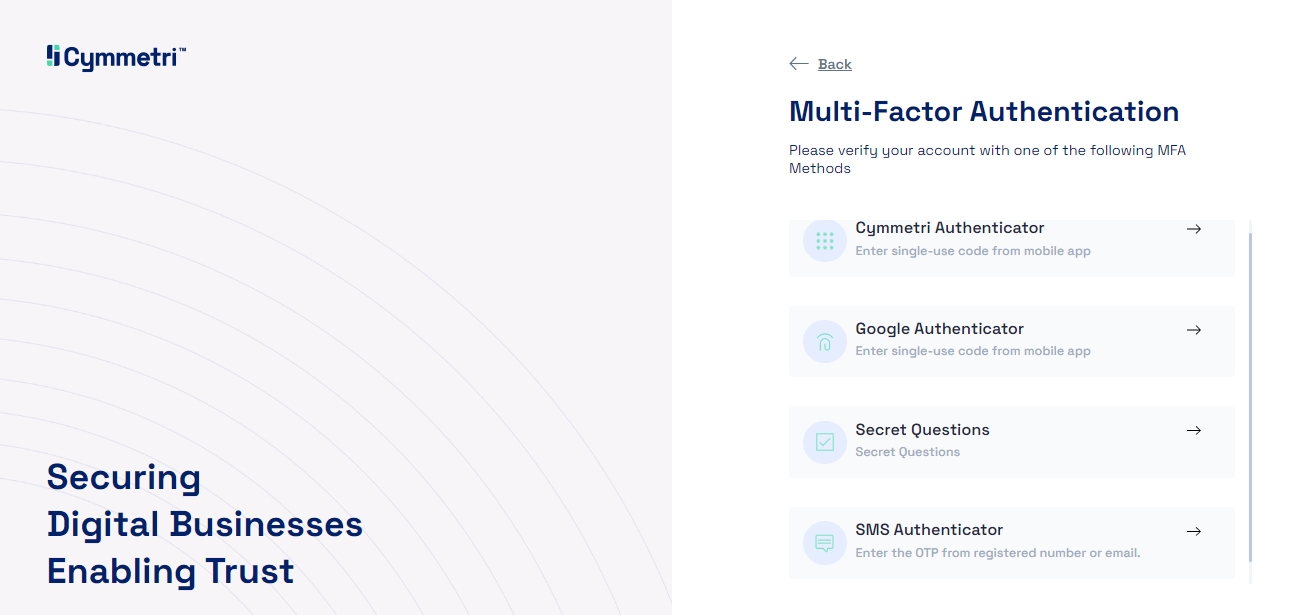
Depending on whether the administrator has enabled the multi-factor authentication options for the organization, and depending on the factors that the user has registered , the user is shown the various multi-factor authentication options.
Option 1 - Choosing Cymmetri Authenticator will require the user to enter their Time-based OTP as it appears on your Cymmetri Authenticator mobile application. The user needs to enter the TOTP and click on Verify to continue.
Option 2 - Choosing Push Authenticator will send a push notification to the user's mobile phone and the user may click on the accept button to complete the login process.
Option 3 - Choosing Google Authenticator will require the user to enter their Time-based OTP as it appears on their Google Authenticator mobile application. The user needs to enter the TOTP and click on Verify to continue.
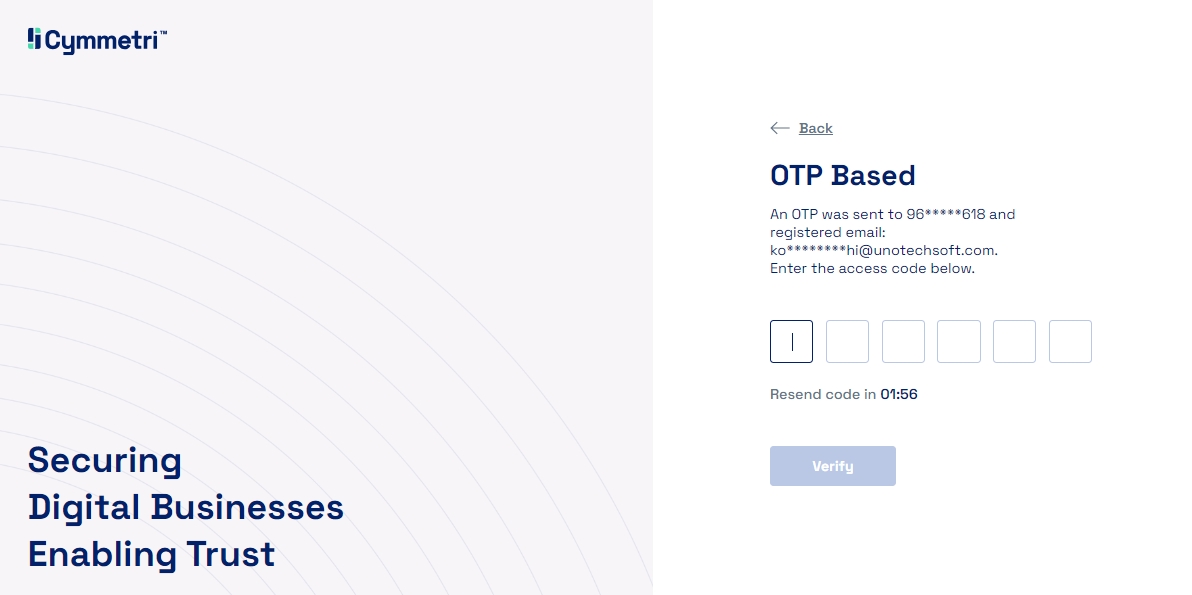
Option 4 - Choosing SMS Authenticator will send an OTP to the user's registered mobile number and the user is expected to enter this OTP and Click on Verify to continue.
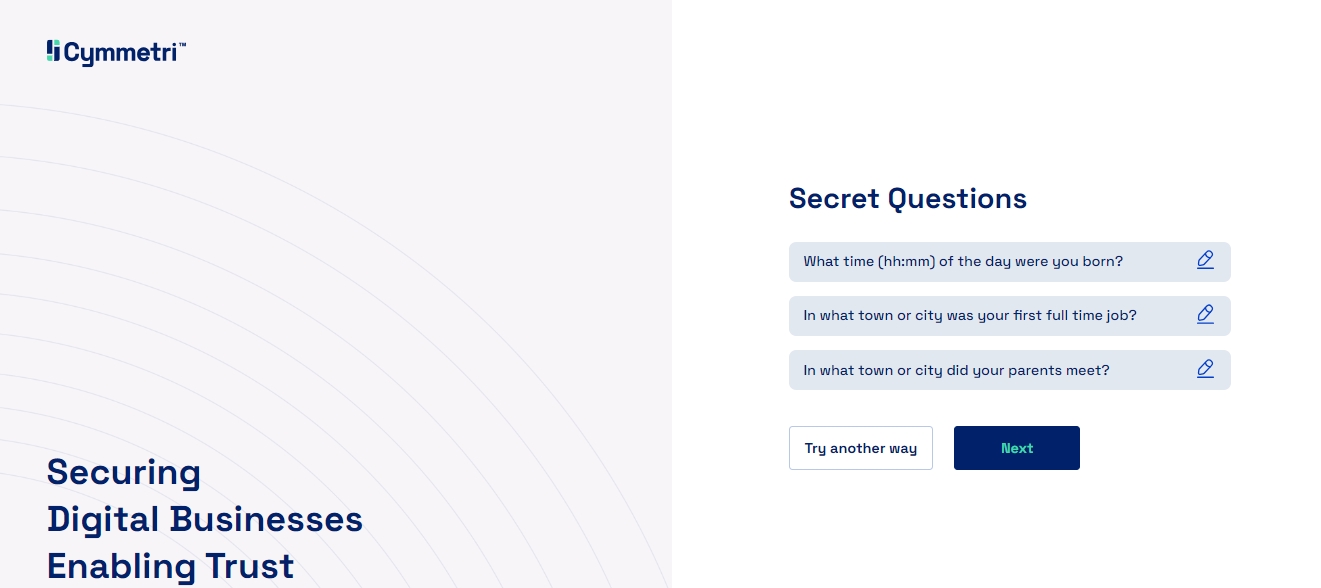
Option 5 - Choosing Secret Questions Authenticator will ask the user to answer a certain number of questions as selected by the user and once answered the user may Click on Next to continue.
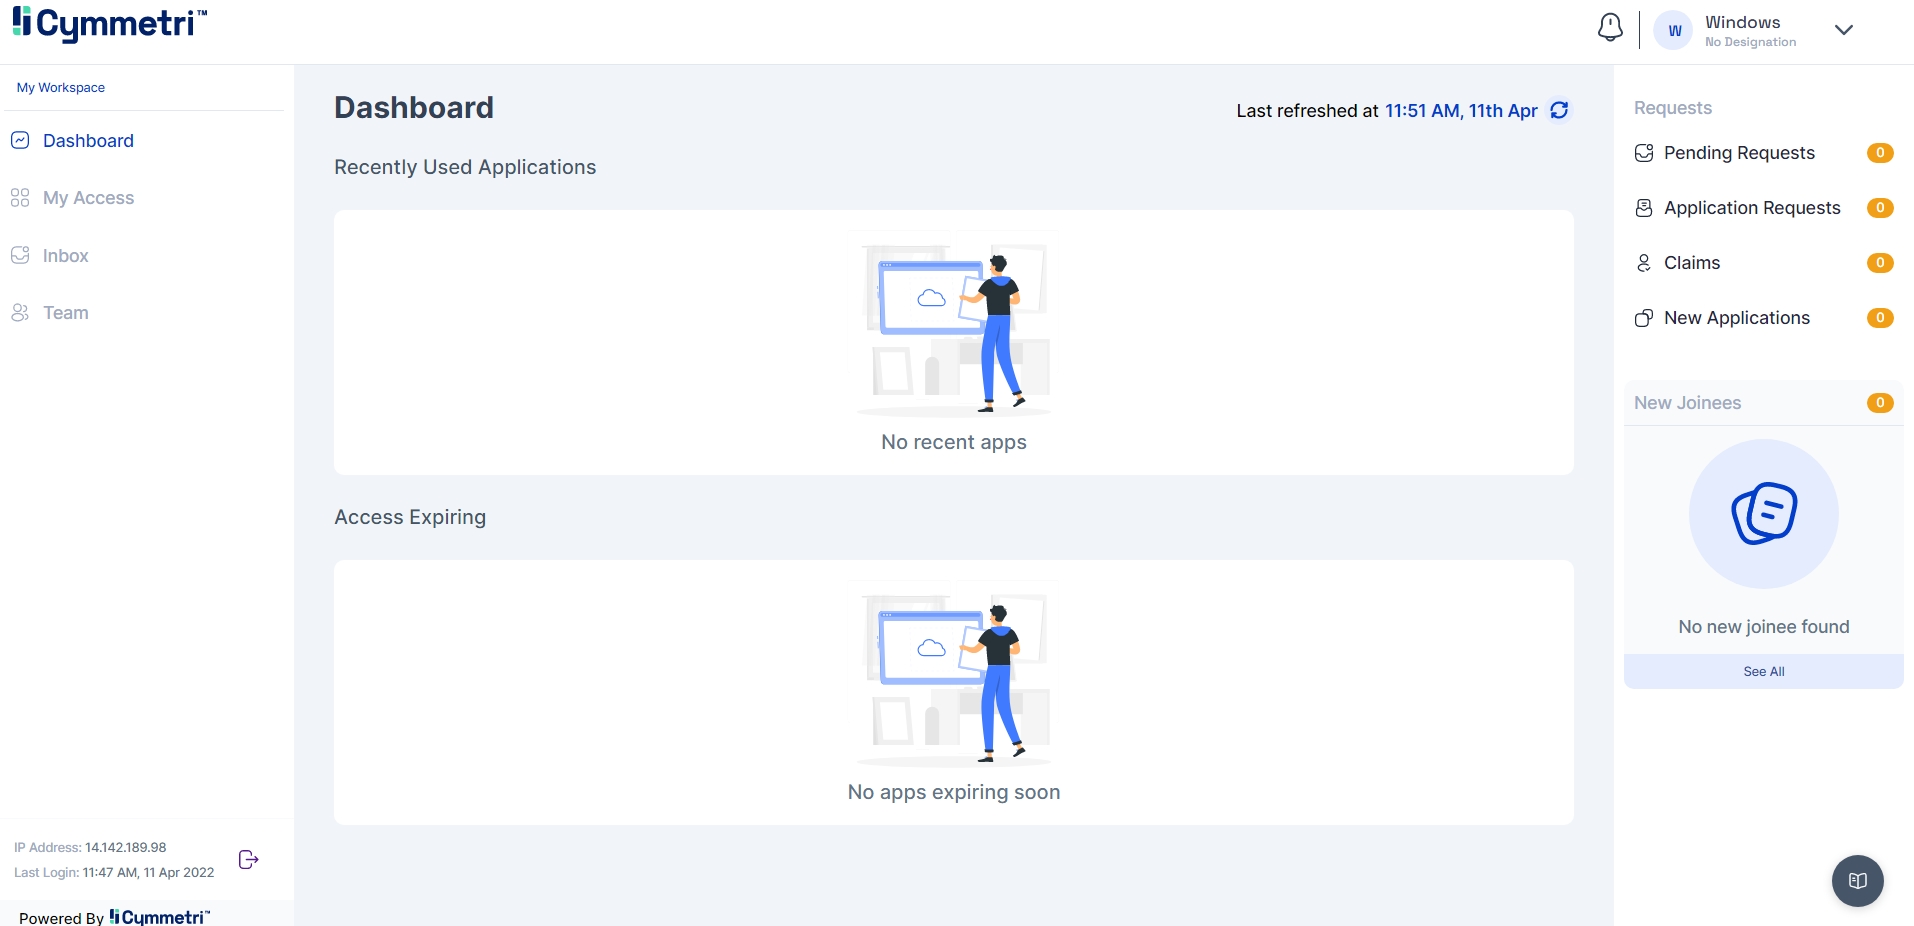
Regardless of the flow followed and the multi-factor authentication option chosen, the user will end up on the dashboard page below upon successful login.
The steps below indicate the passwordless authentication mechanism:
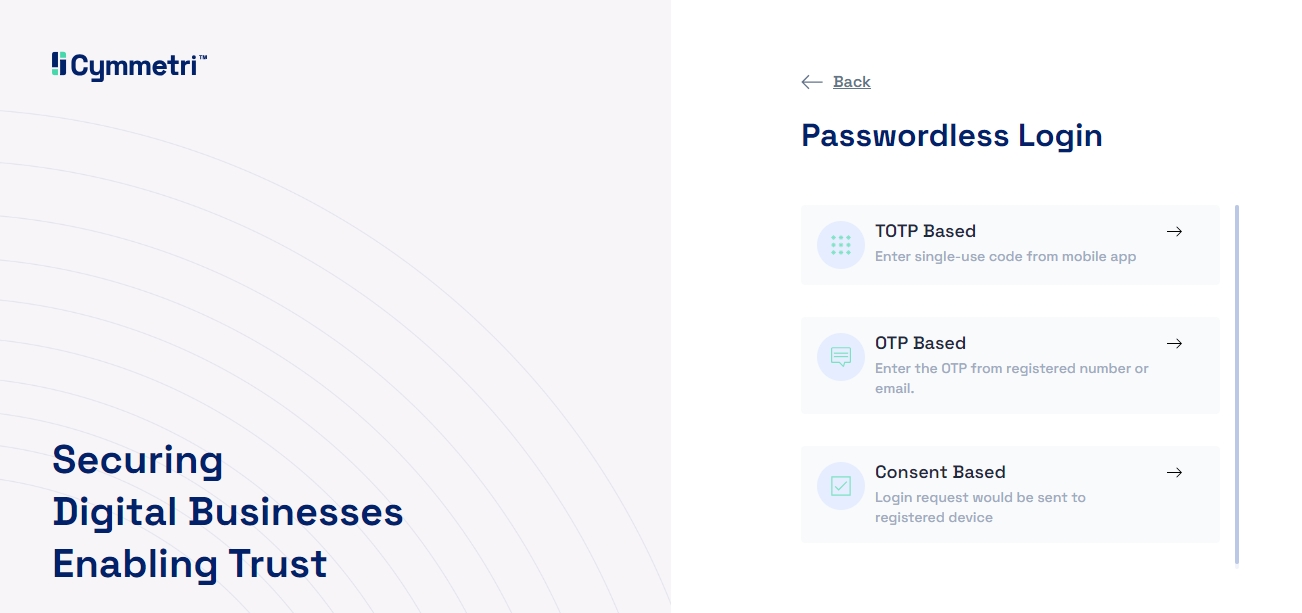
To begin the Passwordless Login flow the user needs to click on the "Login without Password" button, this will trigger the password-less login flow, will show the various registered passwordless login options.
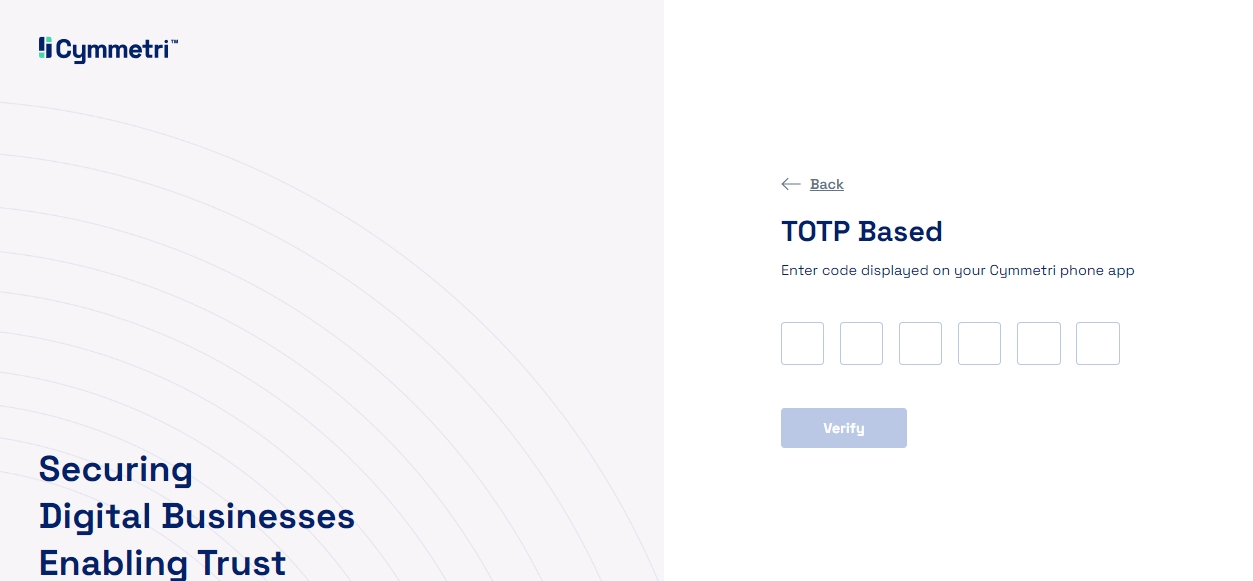
Option 1 - Choosing TOTP Based Passwordless Login mechanism will require the user to enter their Time-based OTP as it appears on your Cymmetri Authenticator mobile application. The user needs to enter the TOTP and click on Verify to continue.
Option 2 - Choosing OTP Based PasswordlessLogin mechanism will send an OTP to the user's registered mobile number and the user is expected to enter this OTP and Click on Verify to continue.
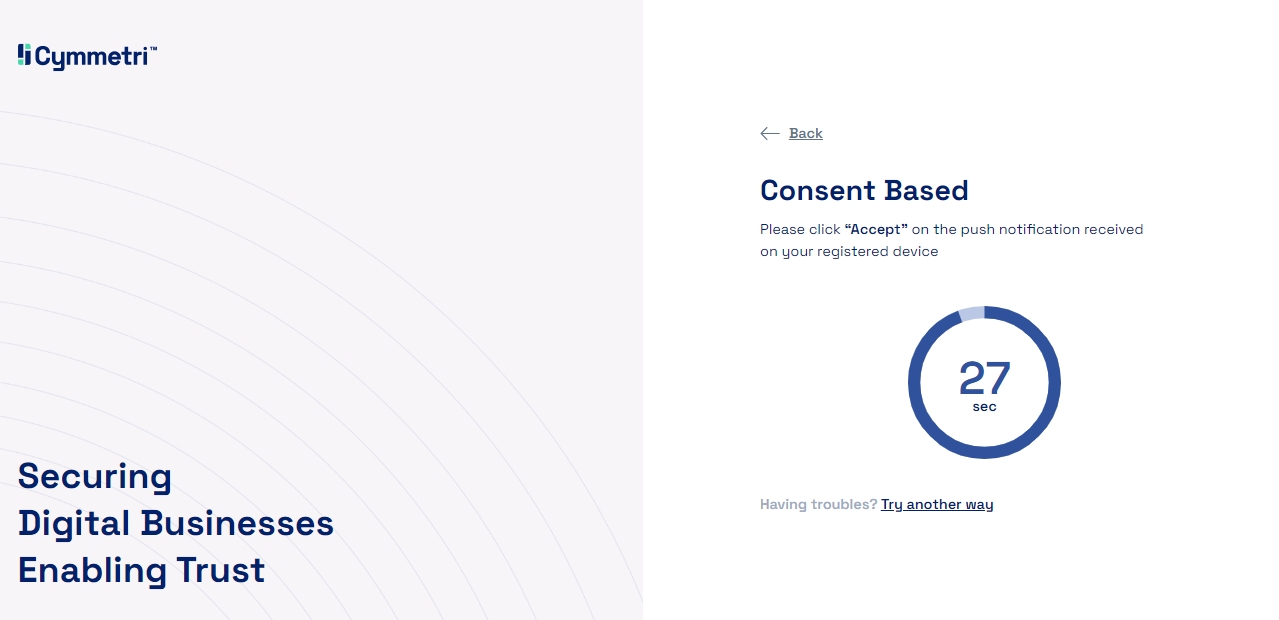
Option 3 - Choosing the Consent Based Passwordless Login mechanism will send a push notification to the user's mobile phone and the user may click on the accept button to complete the login process.
Regardless of the passwordless mechanism chosen to login , the user will end up on the dashboard page below upon successful login.
All users accessing Cymmetri must pass through the first time user registration flow.
For the first time user registration flow, the user will require the website address to access the Cymmetri Cloud Account, their username and password. URL: https://<companyname>.cymmetri.io/login
Example: https://helpdesk.cymmetri.io/login
Below is a step-by-step guide for accessing Cymmetri and completing the first-time registration process:
The user needs to type the appropriate URL in the browser address bar.
Then the user needs to provide the username when prompted
Then the user needs to provide with a password
Cymmetri will require the user to change the initial password and provide a new password. If the new password provided by user does not match or does not satisfy the password policy, the user will not be able to reset the password and the Update button will not be clickable.
After the user has reset the initial password successfully, if Multi-Factor Authentication is configured for the user, Cymmetri asks the user to register for Multi-Factor Authentication using the Cymmetri Authenticator. The system will guide the user to setup their MFA.
On clicking the Cymmetri Authenticator option, the user will be required to scan a QR code using the Cymmetri Authenticator mobile application.
On scanning the QR Code in the Cymmetri Authenticator mobile application the user is registered in the application and can view a unique 6 digit code which needs to be provided in the screen below:
Once user has successfully registered the MFA, the user will be guided to the My Workspace page.
The password for the user would be sent to the user’s registered email address. The password may also be available with Cymmetri administrative user or the user’s reporting manager.
Forgot Password & Unlock Account
Cymmetri user may need assistance to Unlock Account in case their ID is locked for access. In the case where user has forgot the password, the user can self reset to gain access to Cymmetri Cloud.
Steps to Reset Password
Step 1 - Click on the Forgot Password / Unlock Account link.
Step 2 - Provide the Username in the prompt and click Next button.
Step 3 - Select the appropriate MFA option for verification
The available options visible to user depend on the MFA options enabled by the Cymmetri Administrator and the options registered by the user.
If MFA option is not registered, the user must contact the Cymmetri Administrator for further assistance.
Step 4 - Verification by MFA
Step 5 - Select Reset Password option
Step 6 - Provide password
Step 7 - Login with password reset successfully
Steps to Unlock Account
Step 1 - Click on the Forgot Password / Unlock Account link.
Step 2 - Provide the Username in the prompt and click Next button.
Step 3 - Select the appropriate MFA option for verification
The available options visible to user depend on the MFA options enabled by the Cymmetri Administrator and the options registered by the user.
If MFA option is not registered, the user must contact the Cymmetri Administrator for further assistance.
Step 4 - Verification by MFA
Step 5 - Select Unlock Account option
Step 6 - Login after account unlocked successfully


