Dynamic Forms
Dynamic Forms enable administrators to request additional fields from either administrators or end-users when assigning applications. These additional user fields are then collected and used for provisioning the user into the managed application.
Creating a dynamic form:
For creating a dynamic form the administrator needs to configure the managed application. For e.g. Identity Hub->Applications->Service Now(Application may change )->Forms
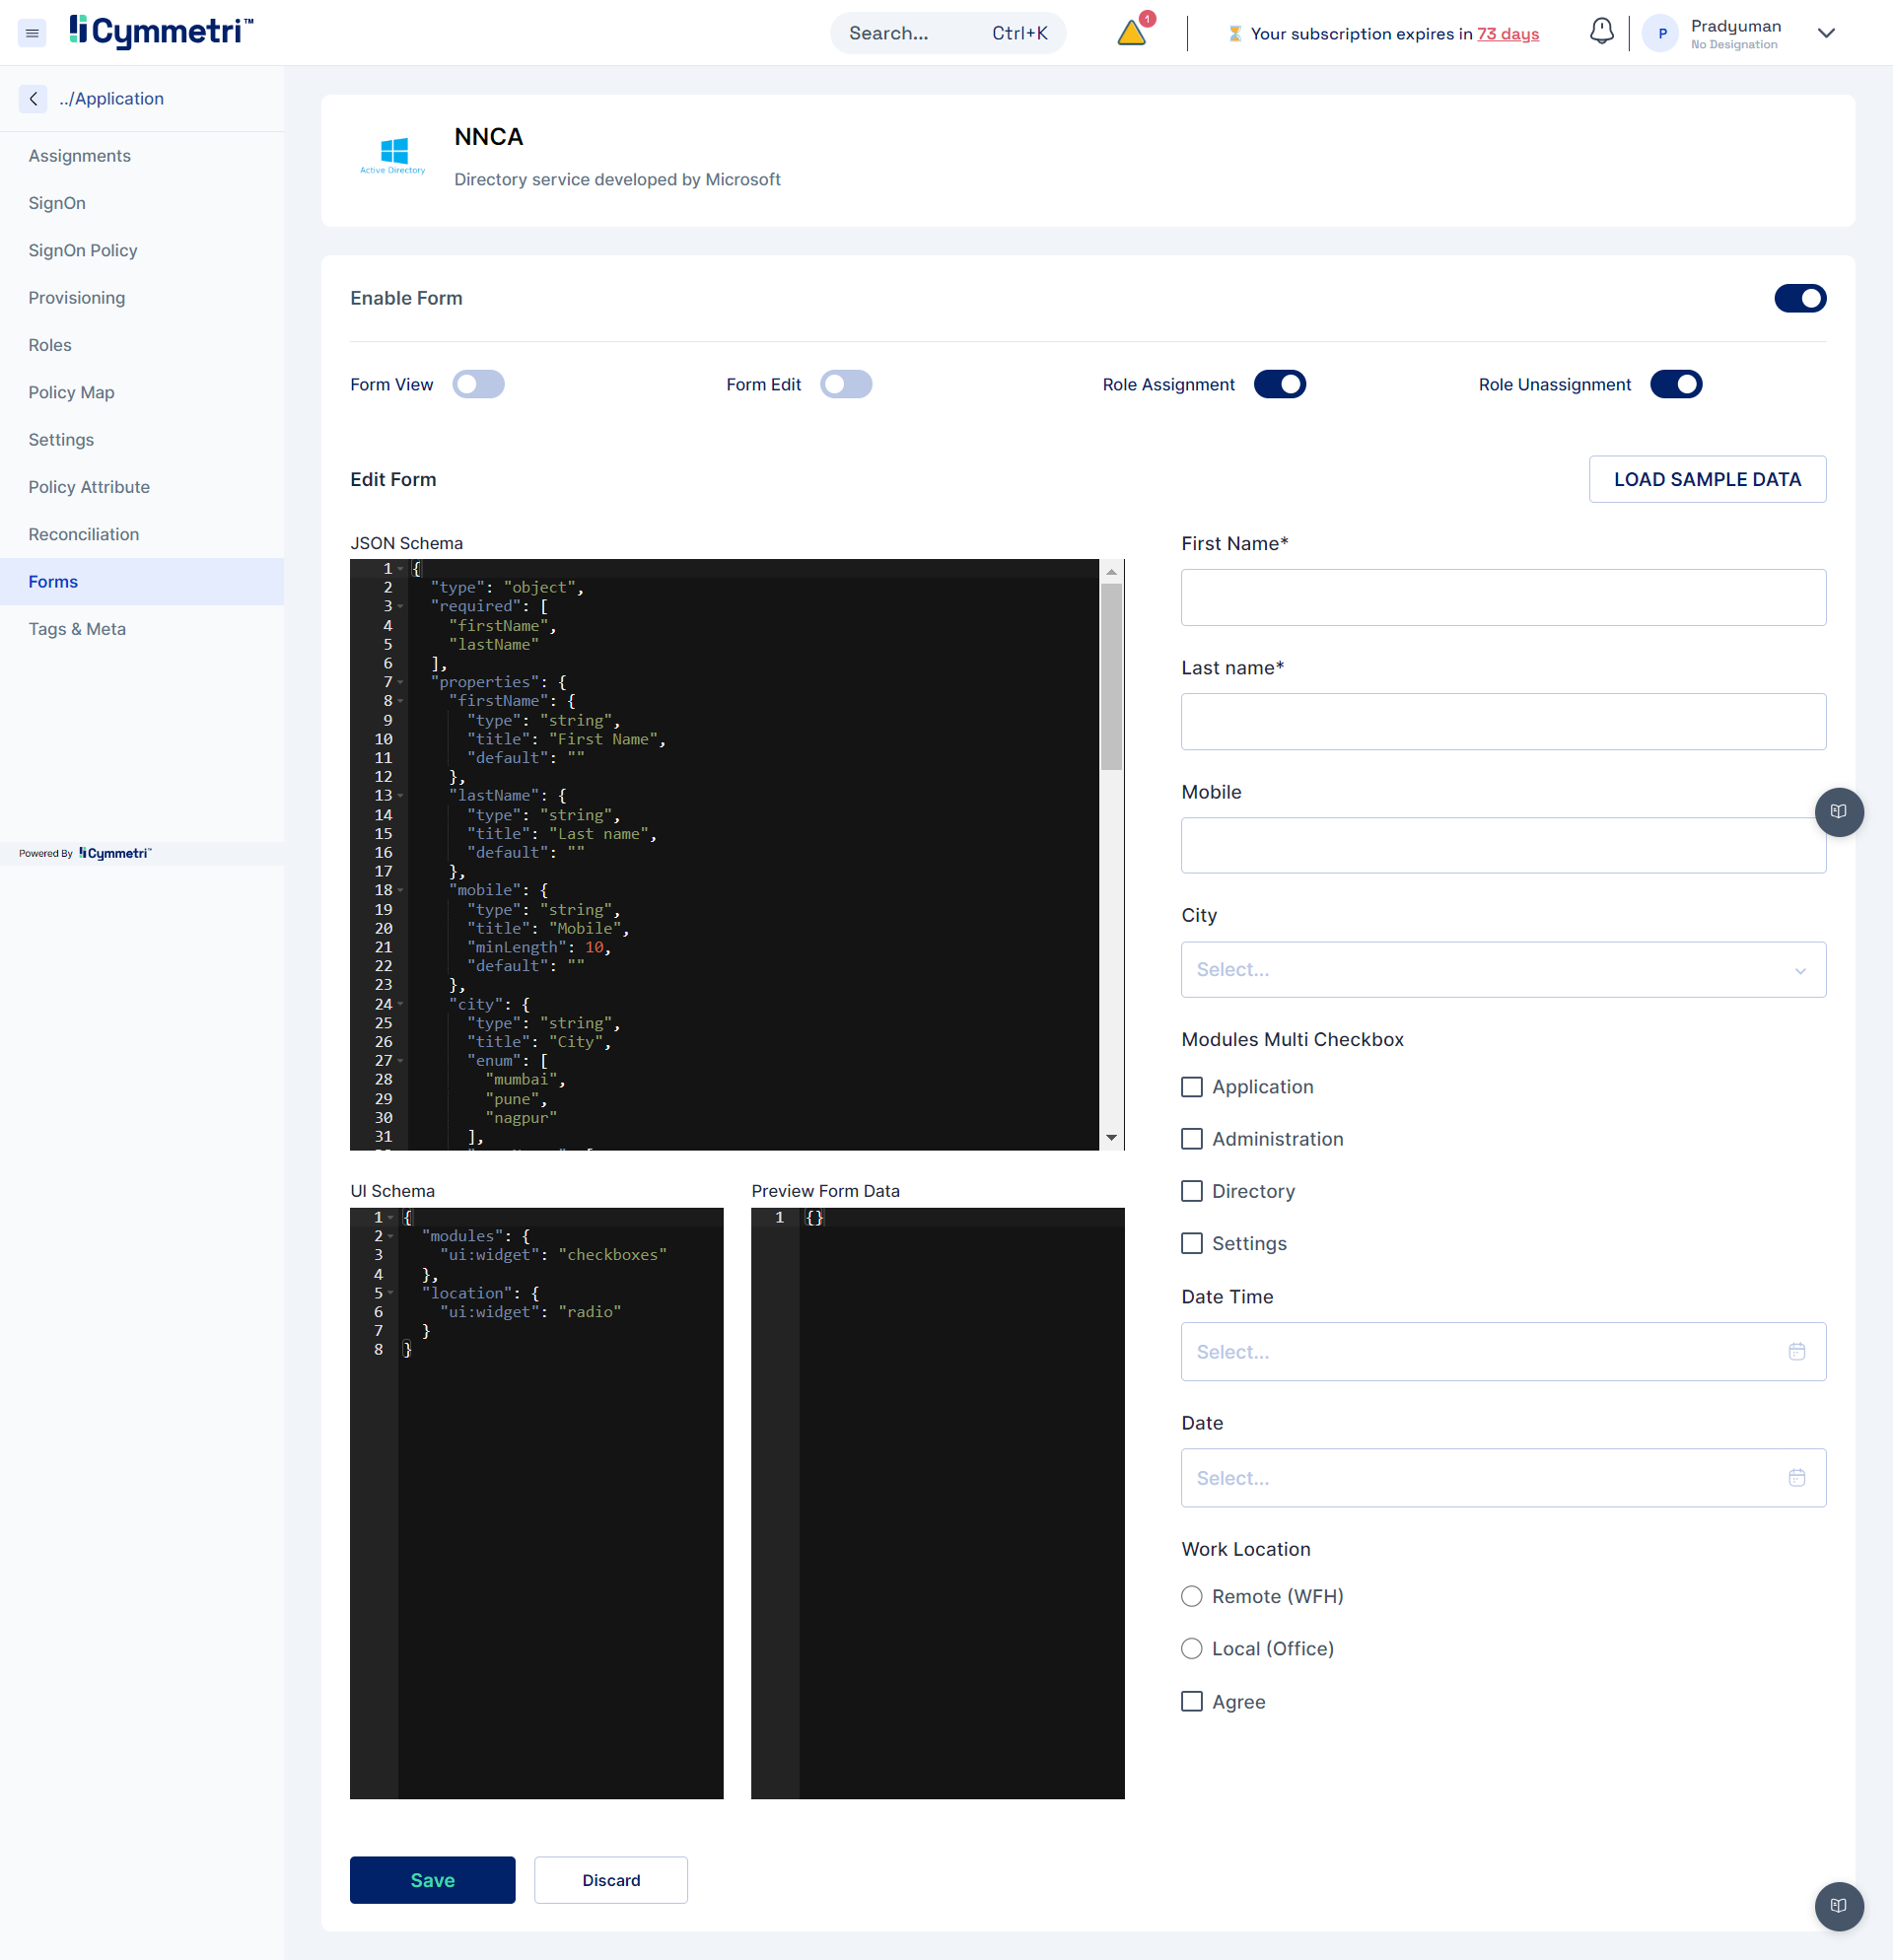
Load the default form by clicking on the “Load Sample Data” button

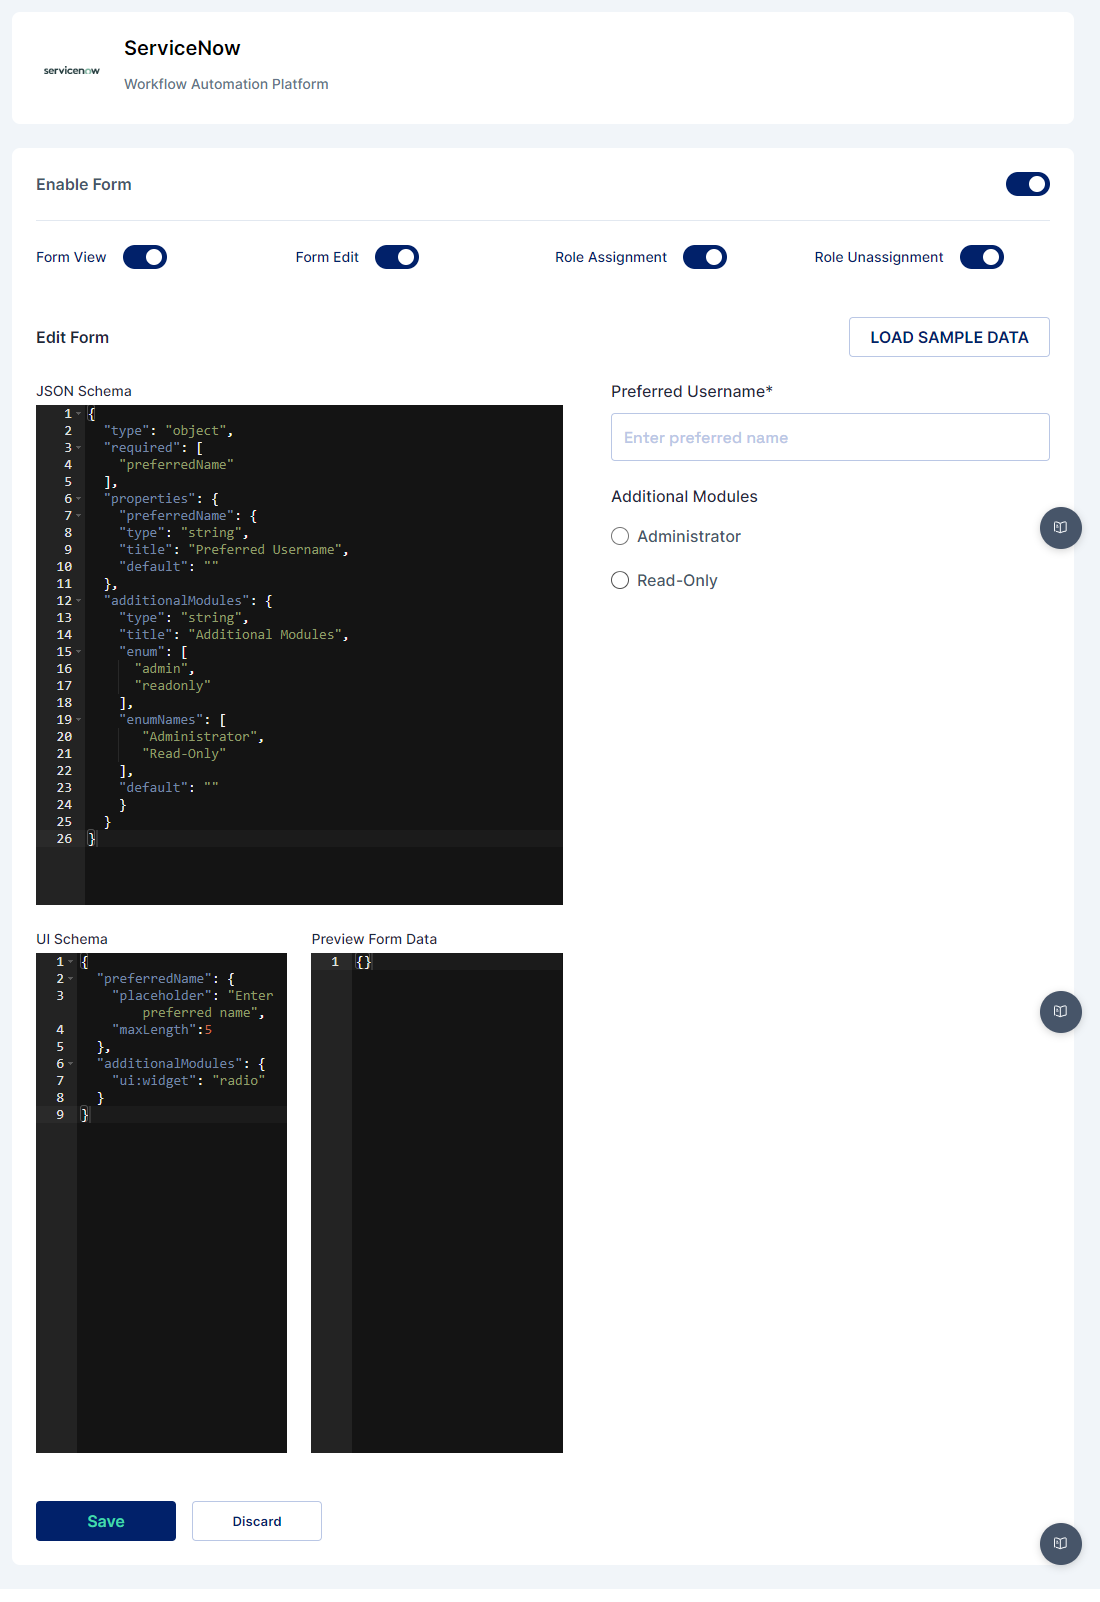
Edit the default form in the JSON Schema section, In the JSON Schema section the administrator can define the form structure with the type of element, and its various properties like type, title, default value etc., a preview of the form is shown on the right hand side.
Let us create a simple form that can capture
“Preferred Username” [text field] and
“Request Additional Modules” [Radio] with two options “Administrator” and “Read Only”.
The code below shows how to create a simple form described above:

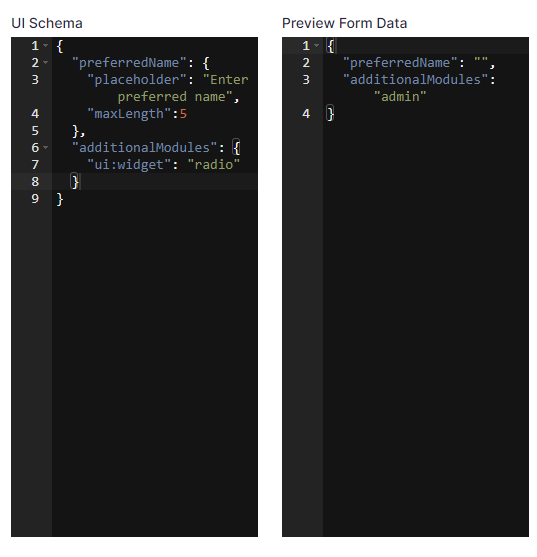
The UI Schema is like a set of json properties that are used to configure how the form should look and behave. It lets you tweak things like the length of a text box or whether a choice should be shown as radio buttons or checkboxes. In the example code, we're using the UI Schema to make the "preferredName" field have a placeholder and also set a maximum length. For "additionalModules," we're using widget property to make it show up as a radio button.
The Preview Form Data displays how the data entered in the UI will be gathered and shows the structure in which the data will be sent to the API.

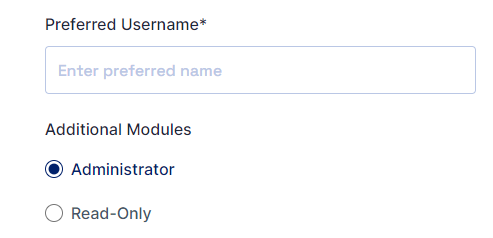
The preview of the form looks as below after making the changes:

Once configured the administrator can Click on the Save button.

Once saved a confirm box appears to enable the form; the administrator needs to click on the Confirm button in the popup to enable the form for the application.

Form Options
There are four options in that can be configured after enabling forms in Cymmetri

Form View: If enabled, the user has the option to see the application request form within the My Access section.
Form Edit: If enabled, the user has the option to edit the application request form within the My Access section, this will make changes in the respective fields in the target application.
Role Assignment: If activated, the user will be displayed the request form for applications that are already assigned to them when attempting to request additional roles.
Role Unassignment: If activated, the user will be displayed the form for applications when he/she is raising requests for role removal.