My Access
Cymmetri provides an interface where users can view the applications assigned to them from where they can access such applications using Single Sign-On (SSO). The SSO ensures that users do not need to remember the username and password to access the desired application. Users can also request access to applications not yet assigned or entitled to them by providing the necessary information.
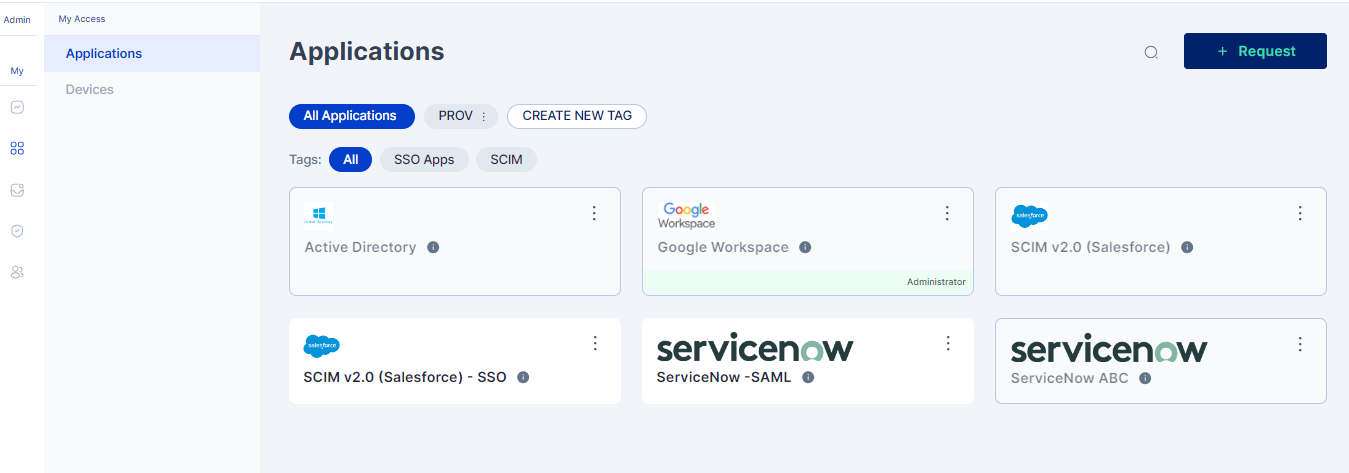
Application
The Application section under My Access provides user easy and friction-less access to the applications they want to use.
Applications can be assigned to the user using the Cymmetri Provisioning framework, either as a birth-right (default) access, or through Provisioning Rules as defined by the Administrator.
For applications requiring approval, the Cymmetri Workflow processes such access requests before granting access to the user.
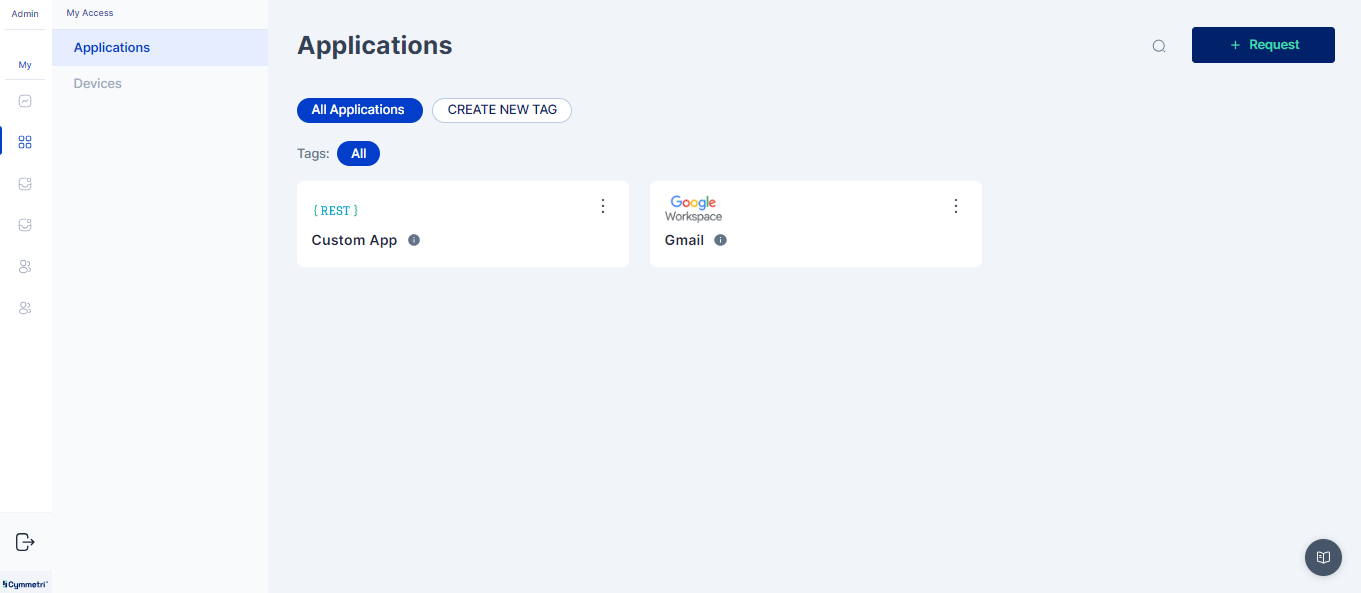
Requesting an Application
Note: Cymmetri provides the ability to set up On Demand Access. Below is the default Request for Access feature.
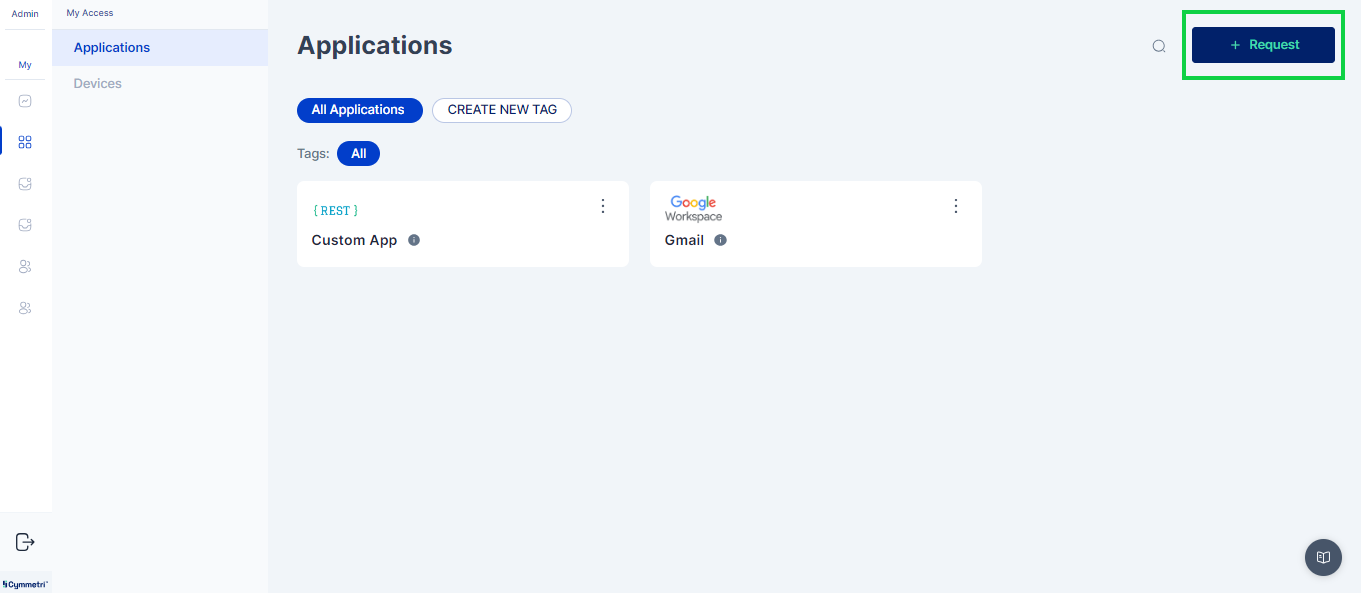
User can view the available applications after click on the Request button on the Application page under My Access.
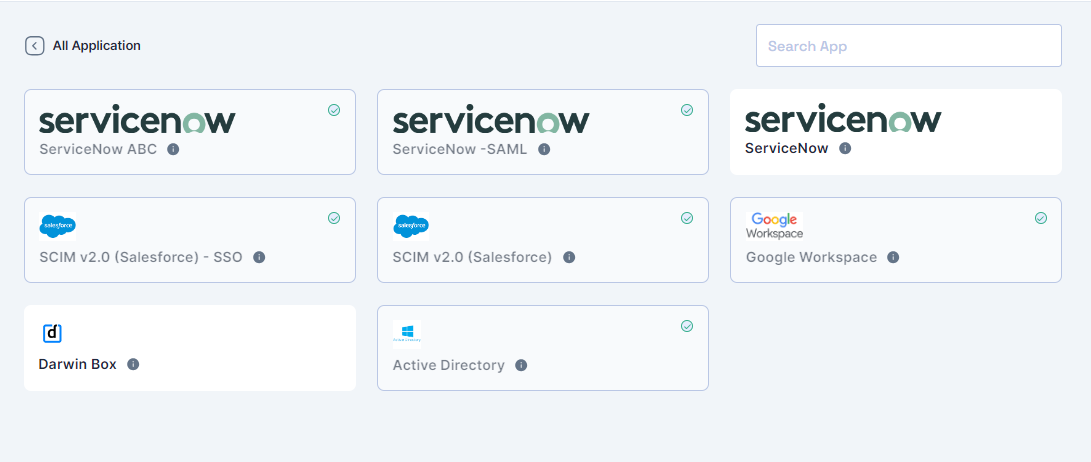
The user can view all the applications that are available for the organization. The applications already assigned to the user are indicated by a green check mark.
The user can request for any application not already assigned to them by clicking on the required application tile. The user is required to select the period of access - either a Start and End Date for access or opt for Lifetime Access. After the selection, the user can submit the request by clicking the Save button.

Depending on the configuration performed by the Administrator, the user will be assigned to the application or the approval request for the user’s access will be initiated.  After all the approvals are granted, the user will be assigned to the application.
Search an Application
The search bar on the Application page allows users to quickly search an application by its name. To use the search, click on the search icon followed by typing the name of the desired application.
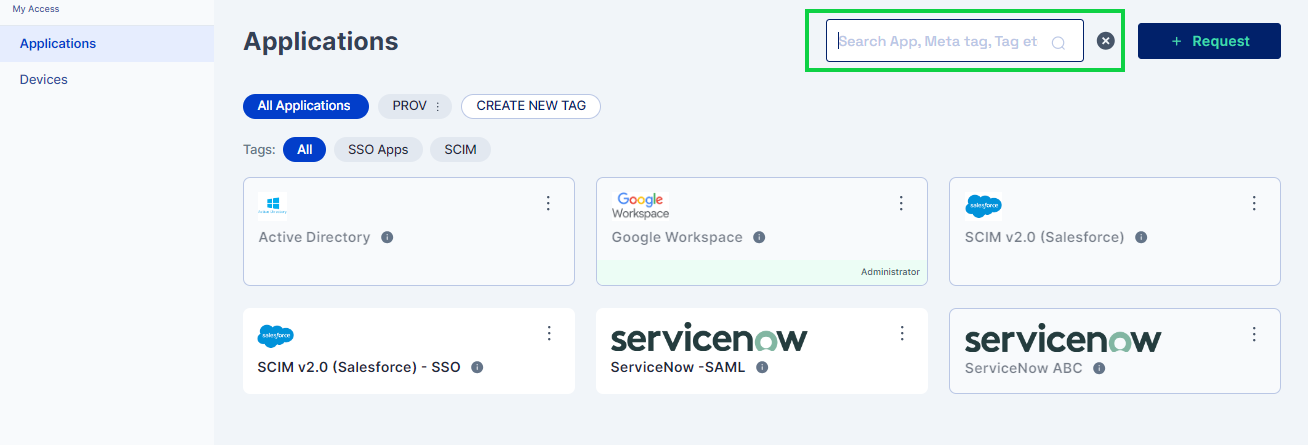
The search result is automatically displayed for the matching applications below :

The search for applications is across the tags defined by the user.
Performing SSO
The user can access any application by simply clicking on the desired application tile. Cymmetri will initiate the authentication request to the target application, and here, the user will get authenticated to the desired application in a new browser tab or window.
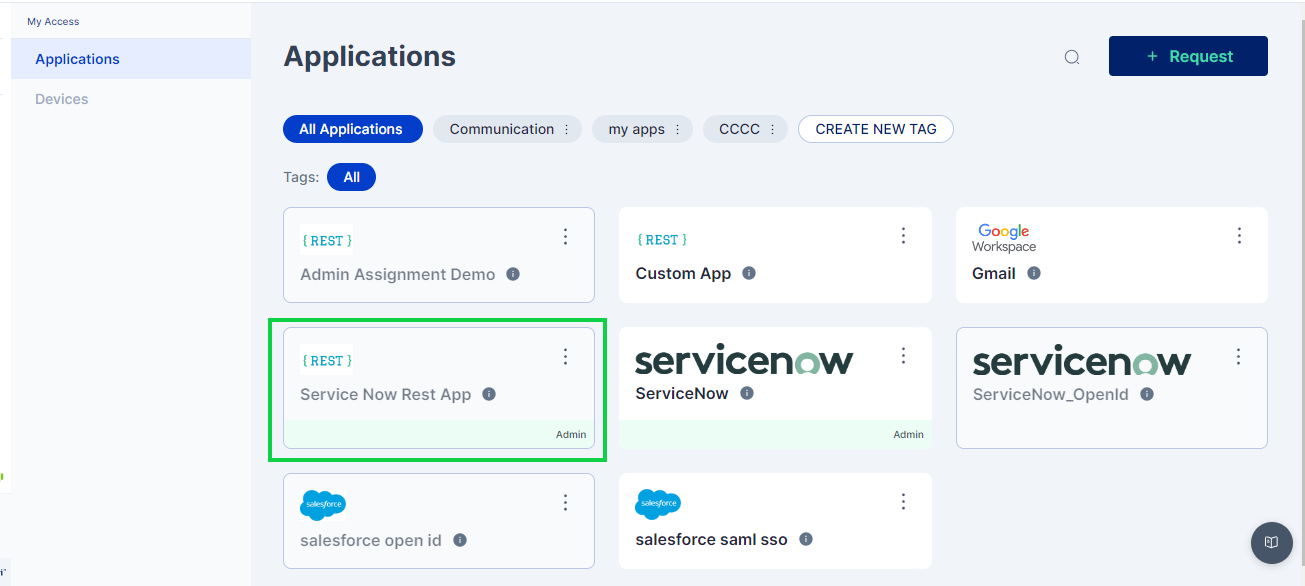
User accessing the applications which are assigned on time bound basis, will show a snippet defining the access period. This is for the user’s information. The snippet is visible while user hovers over the application tile.

Managing Application Options
As a user self-service action, applications assigned to the user can provide the user with options to manage their access. Clicking on the menu button under an application tile opens a context menu for that application.

Assign Role
The Assign Role context menu, allow users to change or request for change the role assigned to them. If there is no approval required for the requested role, the system will automatically assign the role to the user.

Remove Role
The remove role context menu, allow users to remove the role assigned to them. If there is no approval required for the requested role, the system will automatically assign the role to the user.

Request Extension
Cymmetri allows user to extend their access period for applications with time-bound access. 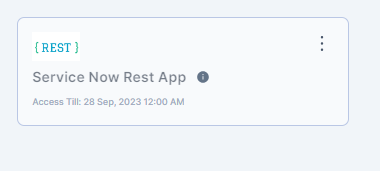
The user can opt the Request Extension option from the application context menu.
 Cymmetri shows the current access end date. The user is required to select a new access end date and click on Request button.
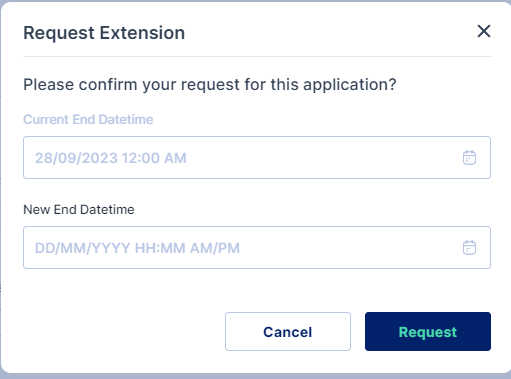
On successful submission, the user can view the success message. If a workflow is configured on the application access then a workflow gets triggered and the extension is granted only after the approval of the workflow.

Tags
Tags allow for easy categorization of applications as desired by the user. When a user is assigned numerous applications tags help in categorizing them and allowing easy management of applications.
Create a Tag
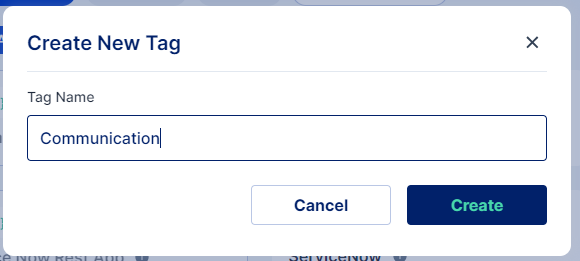
To add a tag, click on Create New Tag button. Provide the desired name and click on Create button.
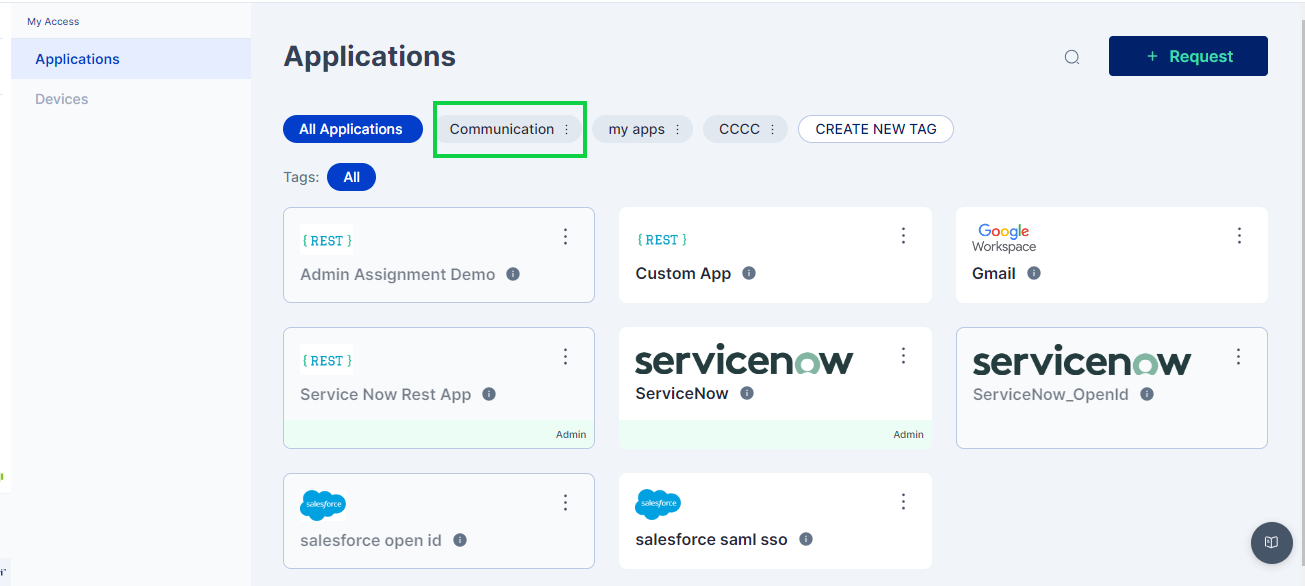
Once submitted successfully, the tag is visible on Application page.
Move to Tag
User can move applications from the All Applications section to any tag as desired. Click on the menu button inside an application tile, select the option Move to Tag.

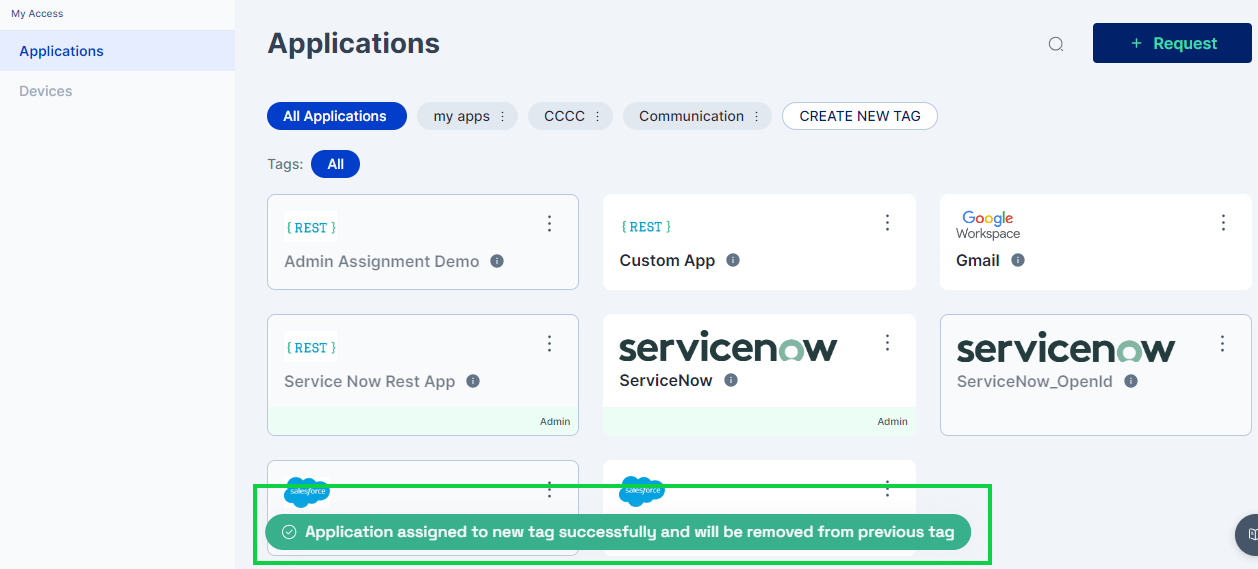
Once the tag is clicked, the system will move the application to the respective tag and user will see the sucess message.
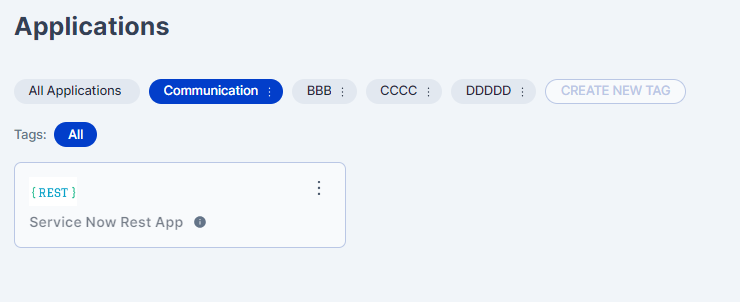
User can now view the application under the tag by clicking on the tag name.

User can move an application from one tag to another tag by following the above mentioned process.
Managing Tags
The user is allowed to create Tags to manage the applications assigned into different sections for ease of access. User can create up to 4 tags. After user creates the fourth tag, the Create New Tag button is disabled.
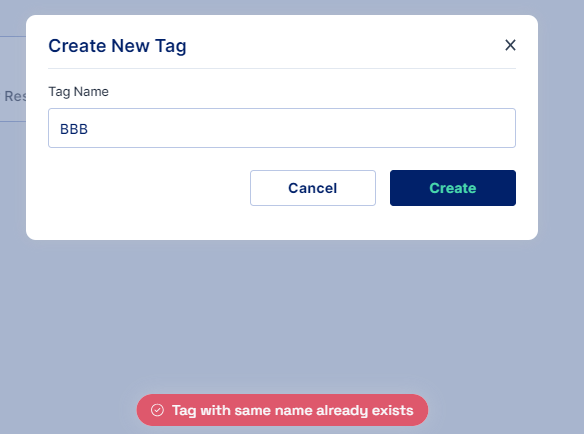
A user cannot create a tag with an existing tag name. Cymmetri will show an error "Tag with same name already exists".
Editing a Tag Name
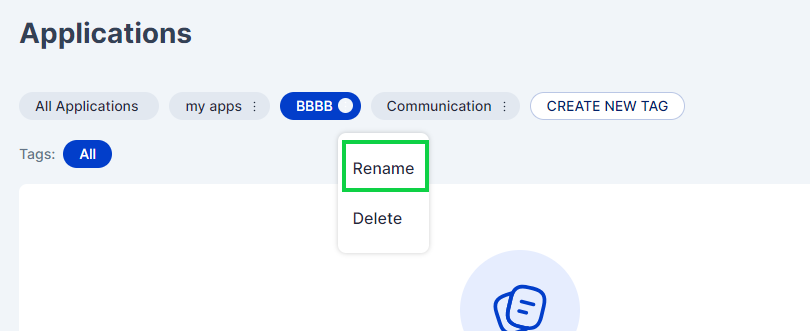
User can rename a tag anytime by clicking on the menu button on the tag and selecting Rename option.
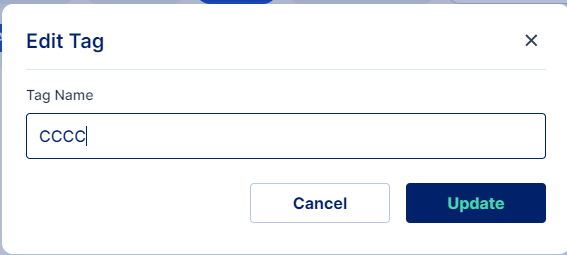
Type in the revised name for tag and click Update button.
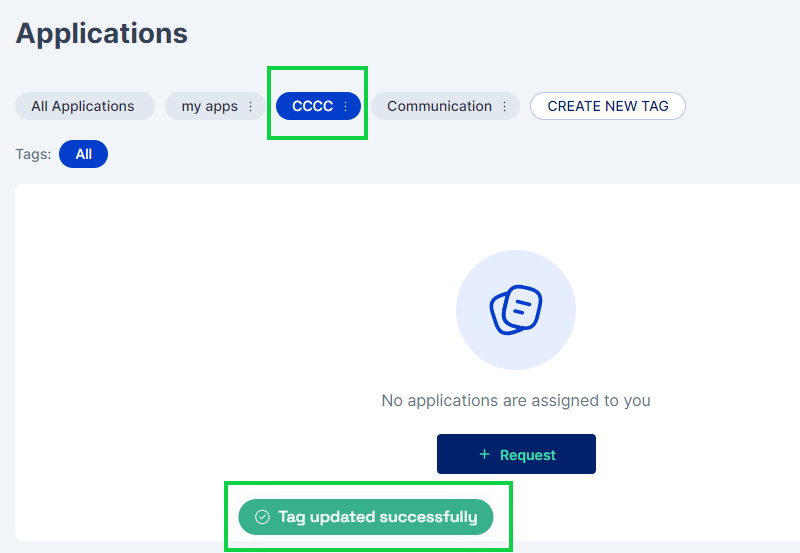
On successful update, the tag name is changed and user can see the success message.
Deleting a Tag
User can opt to delete a tag using the the delete tag option on clicking the Delete option.
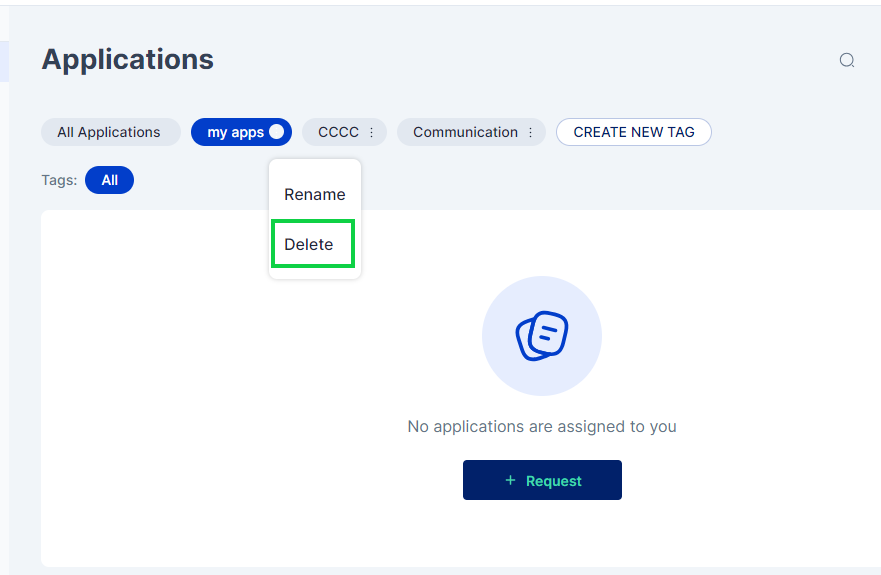
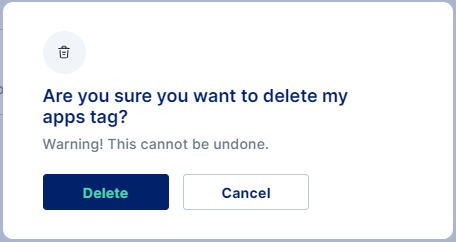
Clicking on Delete will show a warning and once approved the tag will be removed.
On successful delete, the tag is removed and user can see the success message.
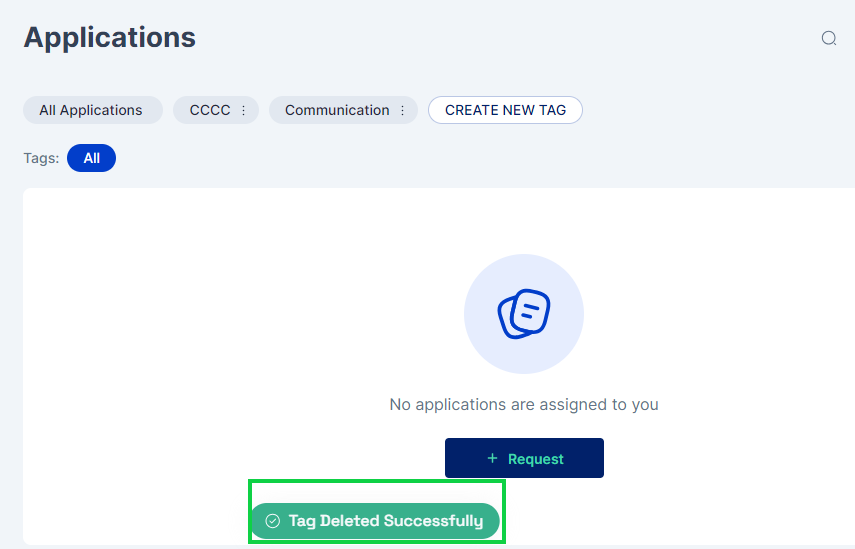
Deleting the tag will not remove the applications assigned to user. The applications can always be viewed under All Applications.