Database Provisioning
In Cymmetri, database provisioning involves setting up and managing database access for provisioning users from the Database Management System into Cymmetri.
Configuration
To configure a Database application for provisioning we need a database on the server. We need one table in the database on which we want to create users.
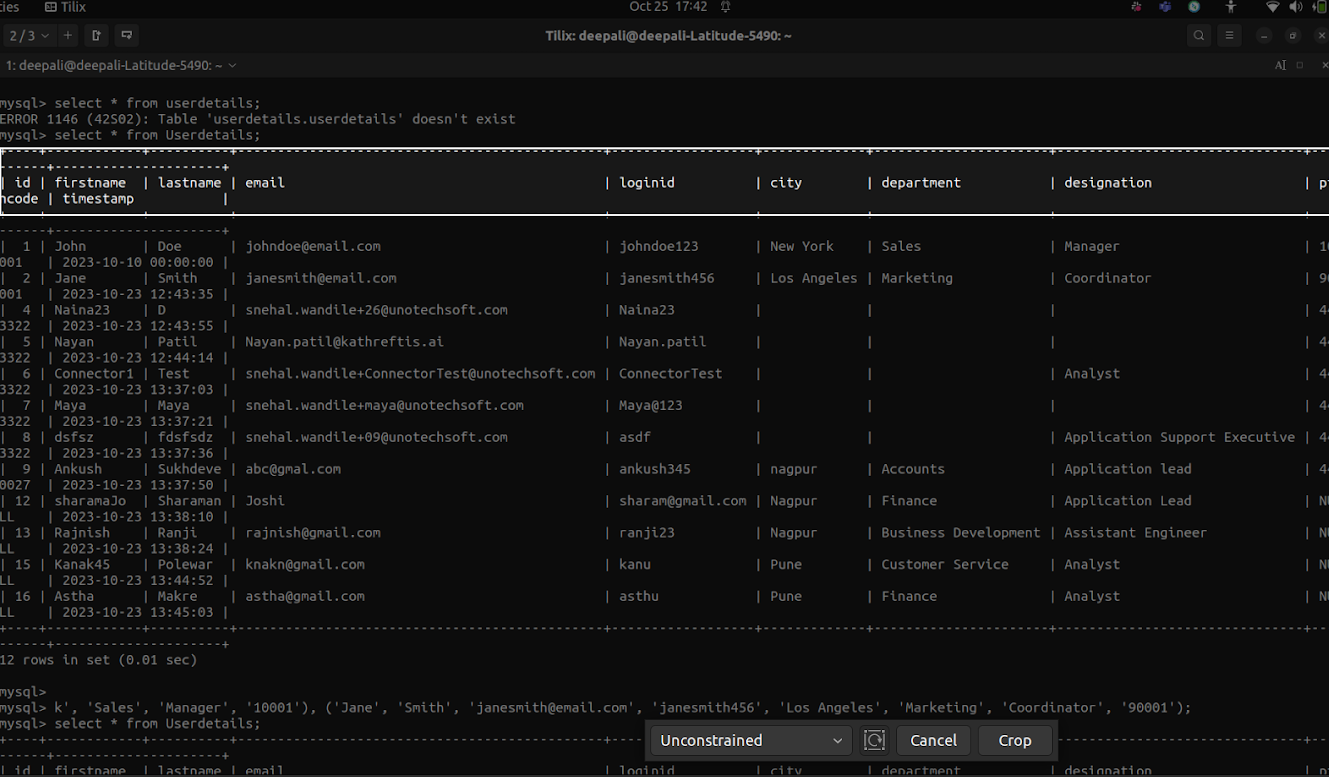
In the above image Userdetails is a table with some basic fields.
Configuring the Database Application
To configure Database Application with cymmetri we need to configure ScriptOn (Database) Application. Please follow the steps provided below.
Get ScriptOn (Database) Application from Cymmetri Master apps list
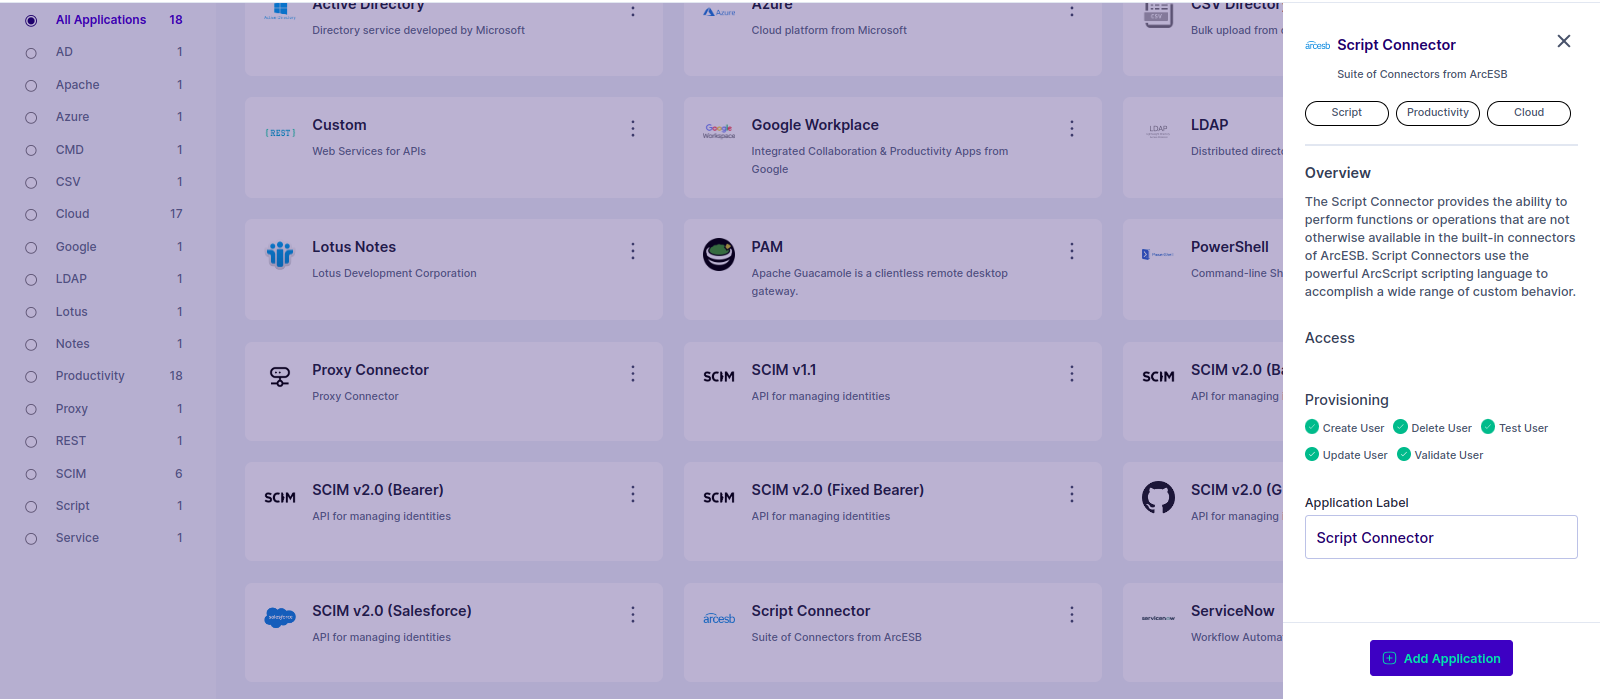
After Getting application from Cymmetri Master activate provisioning of selected application i.e ScriptOn application (Database).After successfully activation of provisioning, setup server configuration.
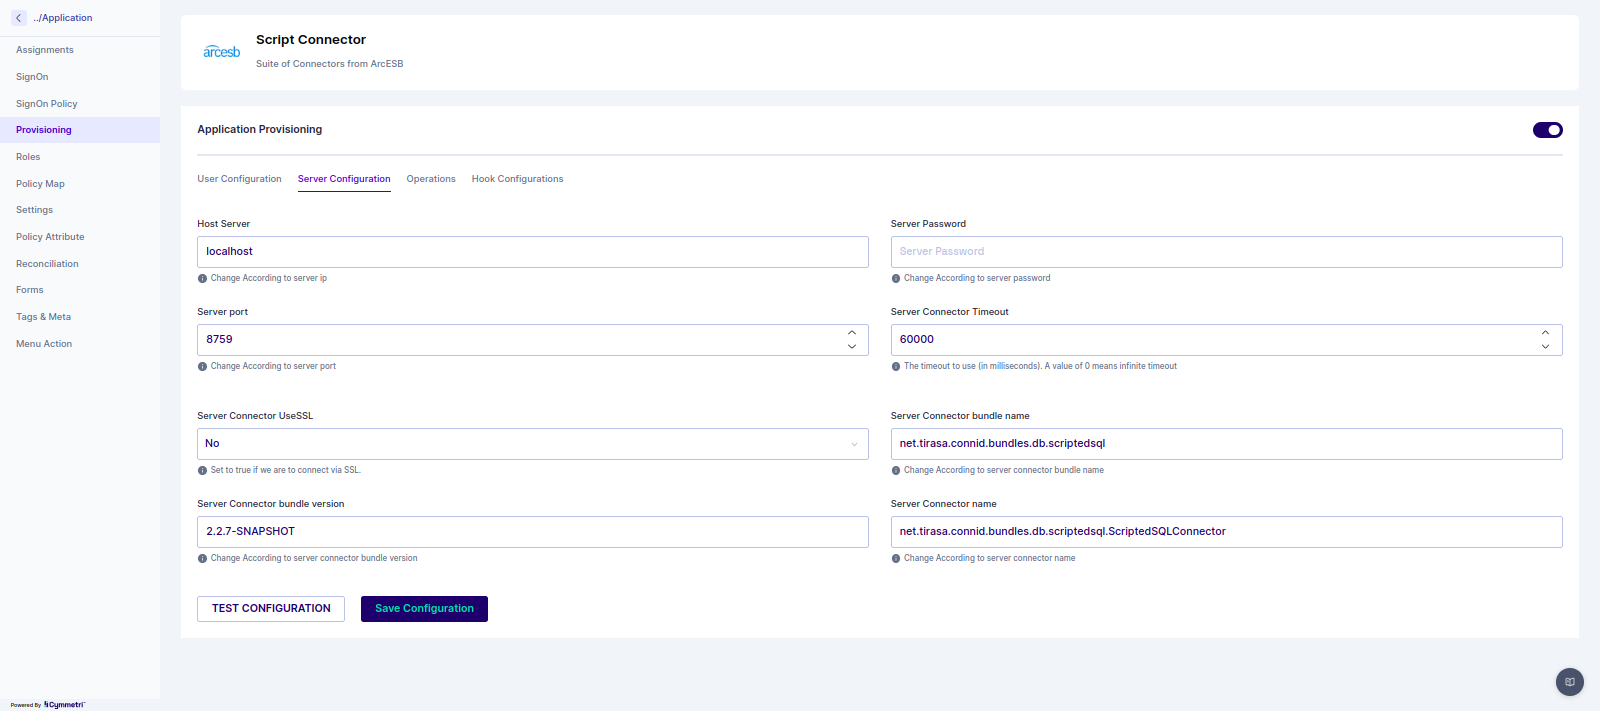
Note: Basic configuration is already provided in cymmetri master application. If the connid server is configured externally then configure server config as per requirement.
After successfully configuring server configuration, next step is to configure User Configuration. This is the most important step to connect and perform operations with ScriptOn (Database) applications.
To configure User configuration please refer to the following steps (It is abstract level steps that may be vary as per client). Following are the basic configuration which is required for every ScriptOn (Database) application to connect.
Database :- Name of the database on the database server that contains the table.
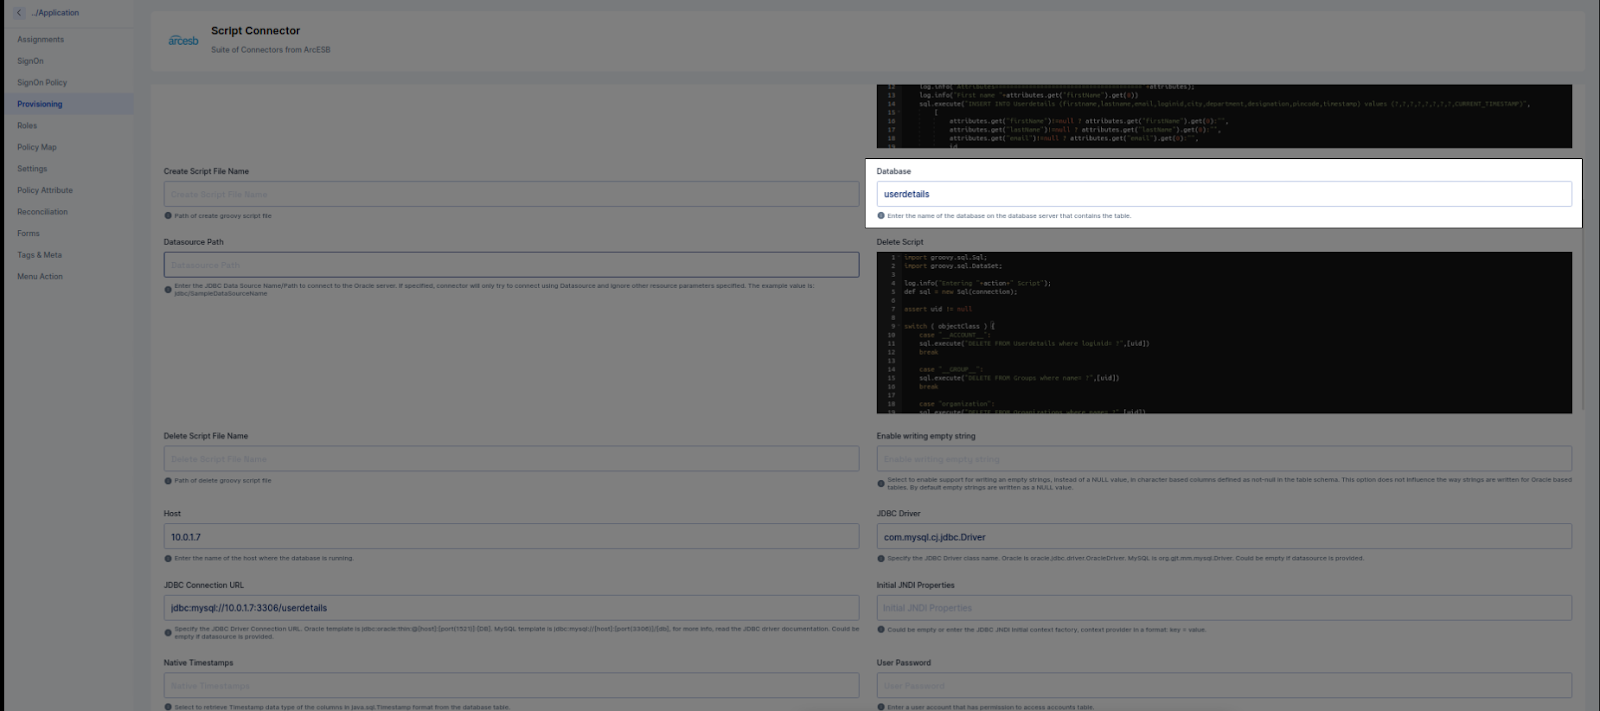
Datasource Path :- JDBC Data Source to connect to the database server.
Host :- The name of the host where the database is running.(eg localhost or 10.0.1.7)
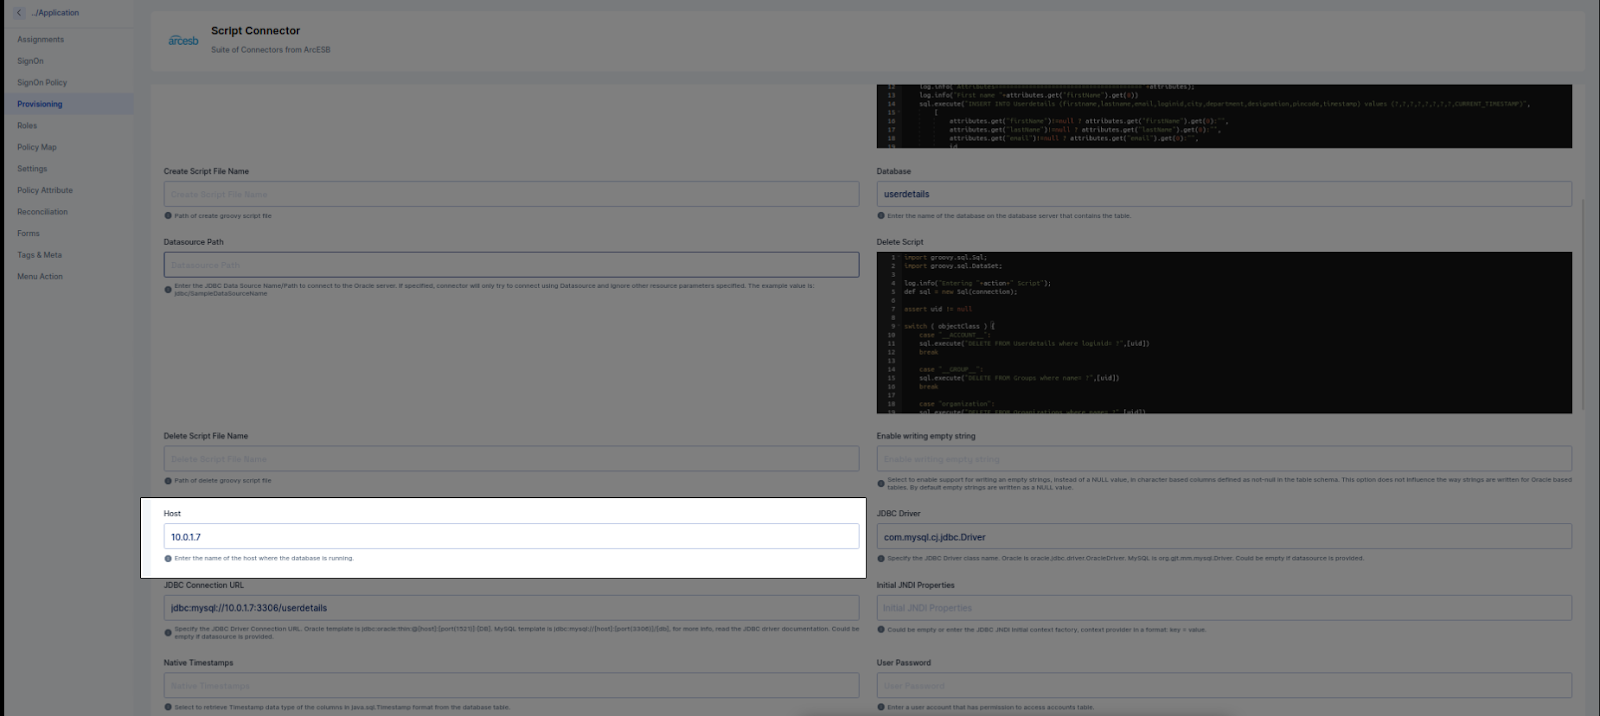
JDBC Driver :- The JDBC Driver class name.
Eg: For Oracle Driver Class Name is oracle.jdbc.driver.OracleDriver For MySQL is org.gjt.mm.mysql.Driver For PostgreSQL is org.postgresql.Driver
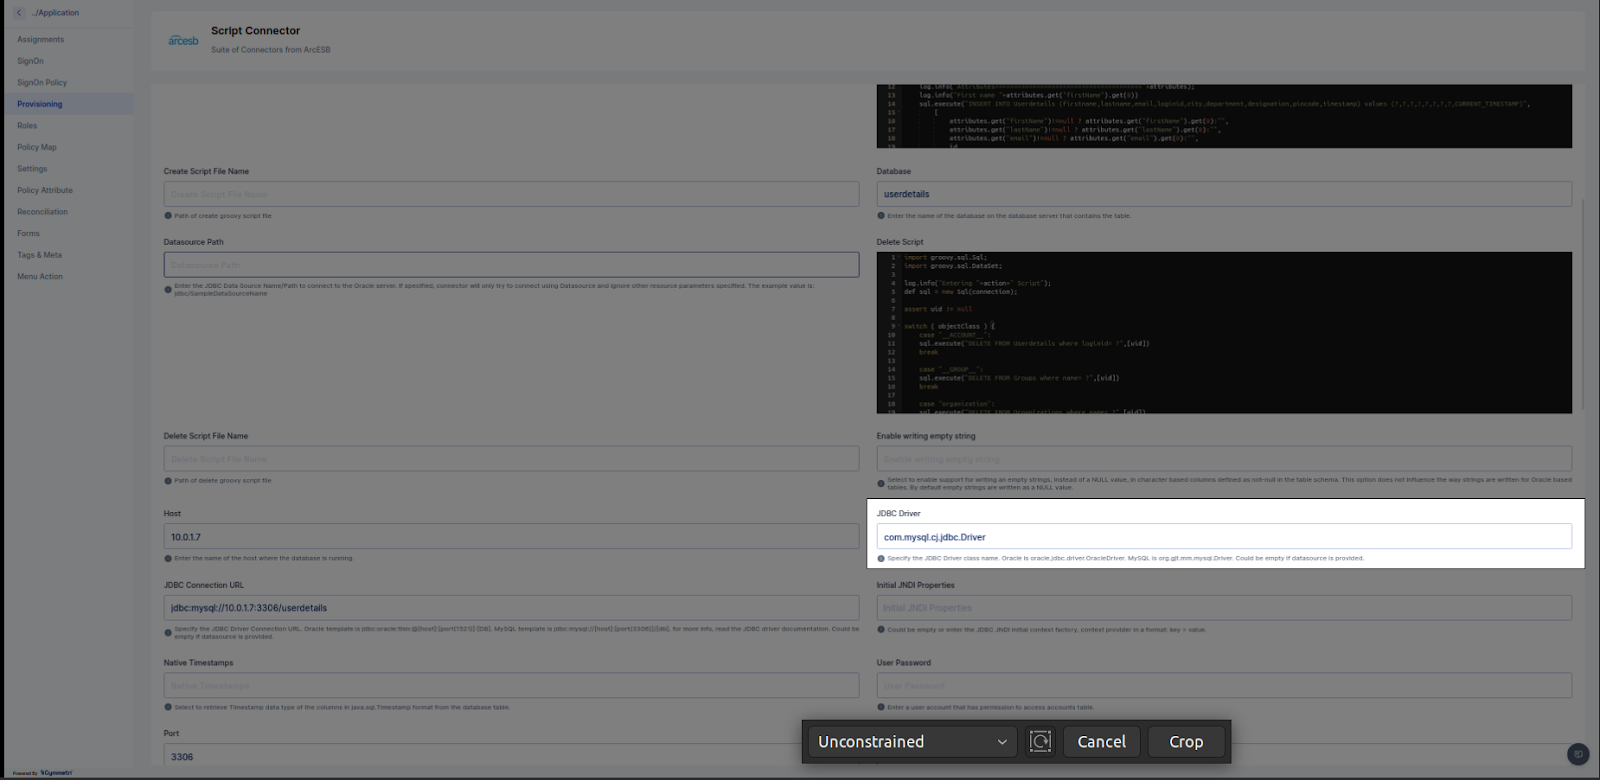
JDBC Connection URL :- Specify the JDBC Driver Connection URL. Examples: Oracle: jdbc:oracle:thin:@[host]:[port(1521)]:[DB] MySQL: jdbc:mysql://[host]:[port(3306)]/[db] PostgreSQL template is jdbc:postgresql://[host]:[port(5432)]/[db]
Db is a database name. It Could be empty if a datasource is provided.
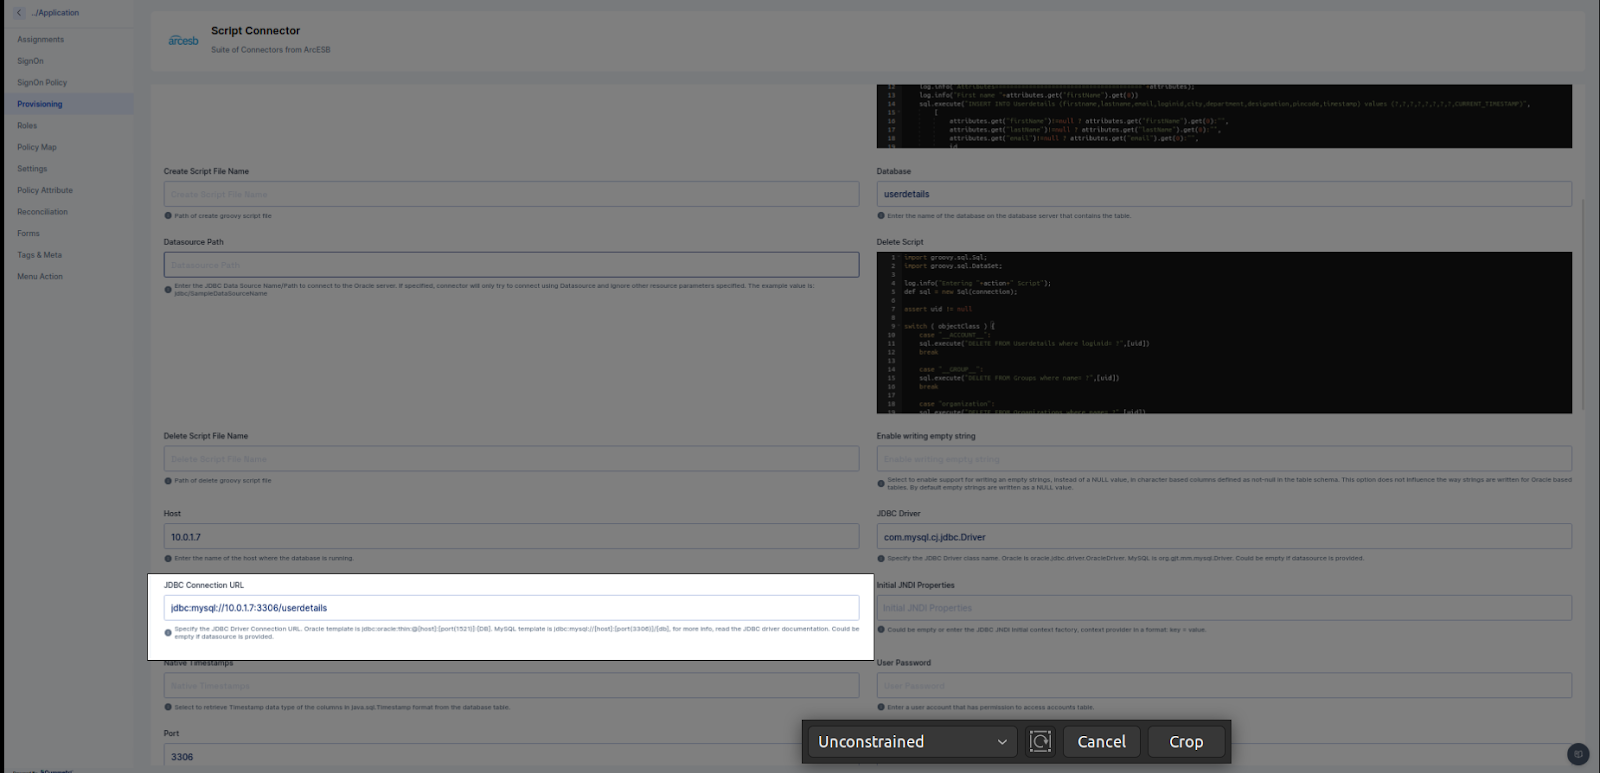
User Password :- User account that has permission to access accounts table.
Port :- The port number the database server is listening on. For postgreSQL it could be 5432. For mysql it could be 3306. We need to use it according to our database.
Reload Script On Execution :- This flag value must be true if we pass scripts file name (Groovy Scripts upload in server)
User :- The name of the mandatory Database user with permission to the account table.
Test Script or Test Script File Name :- Test script for testing connection from database with Cymmetri
Create Script or Create Script File Name :- Create user script for creating user in database application (supports PostgreSQL, MySQL, Oracle 11g) <uid needs to return from create script>
Update Script or Update Script File Name :- Update user script for updating user in database application (supports PostgreSQL, MySQL, Oracle 11g) <user update based on uid>
Delete Script or Delete Script File Name :- Delete user script for deleting user from database application (supports PostgreSQL, MySQL, Oracle 11g) <user delete based on uid>
Search Script or Search Script File Name :- Search script for searching user from database (Bulk search)
Sync Script or Sync Script File Name :- Sync script for Synchronizing users from database into/from cymmetri.
Above are the most important fields in user configuration which need to be configured. The details for the above fields are given in the application configuration page.
Configuring all the user and server configuration with proper data and Test application for connectivity. If it is successful then we can proceed for assignment and reconciliation operations or if it fails then check the audit log for error.
Other than user and server configuration we need Policy Attribute and Policy Map for mapping attributes of Database application with Cymmetri.
Following are the steps to configure policy attribute and policy map.
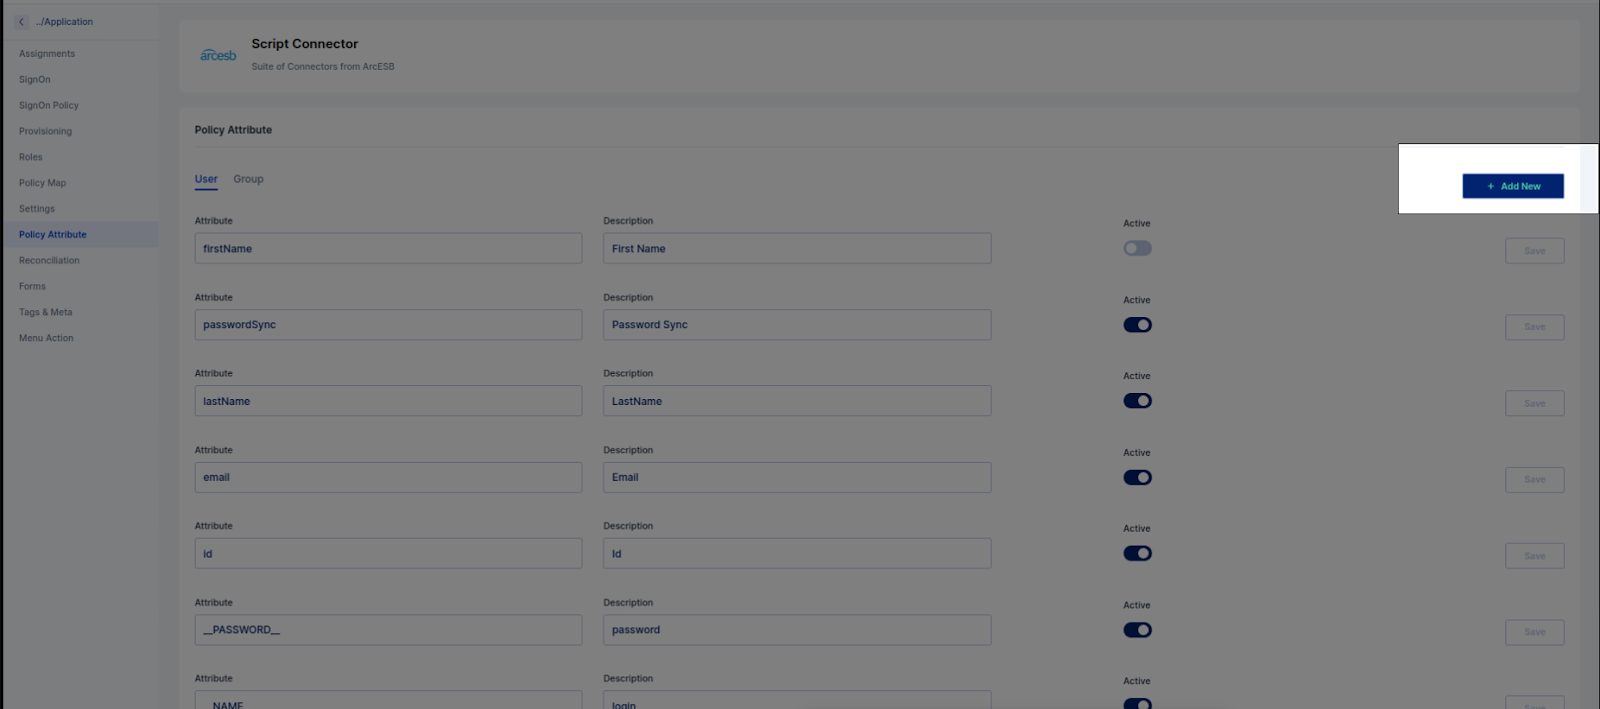
Policy Attribute :- There is default policy attribute cymmetri master application provides which has basic fields which needs to be configured for performing provisioning operation.
To add a new policy attribute click on the new button and add policyAttribute and its description.
Policy Map :- There is default policy map present in cymmetri master application which provides basic mapping of ScriptOn (Database) application with cymmetri. To configure these mapping we need to activate it as in create only and update only flags need to be true as per requirement.
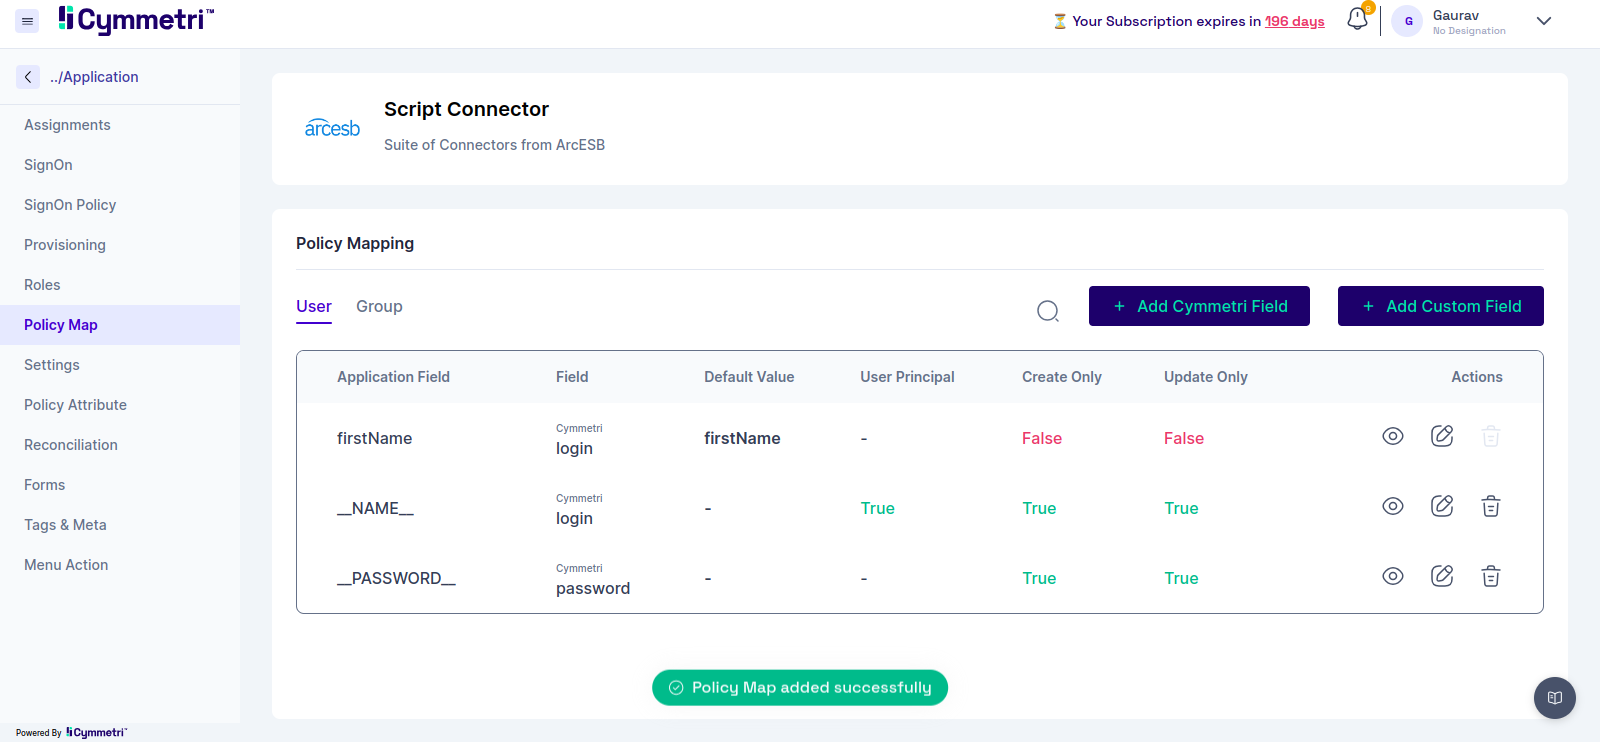
To add a new policy map click to Add Cymmetri field.
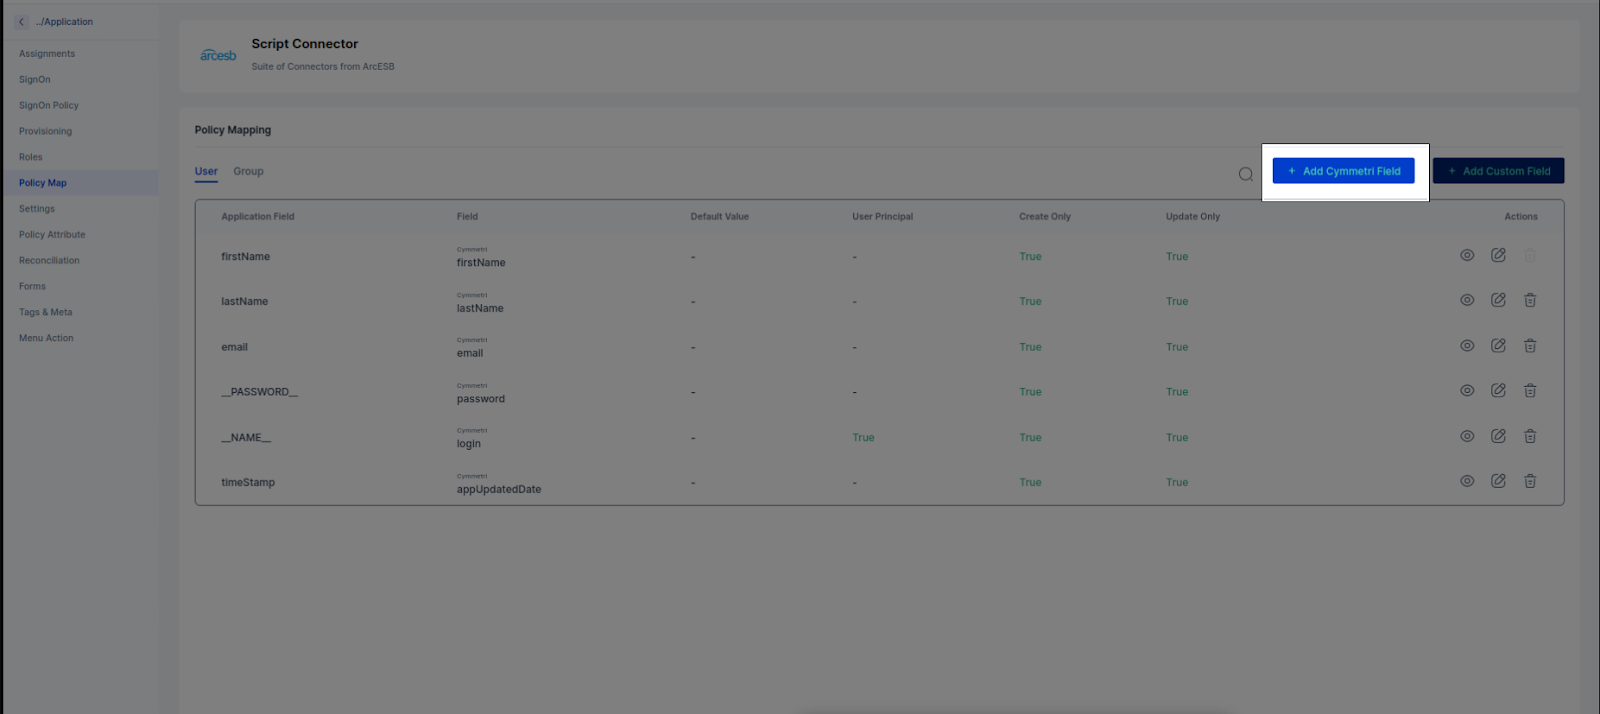
Some important policy map fields which need to be declared in the policy map are as follows.
__NAME__ :- users login (supports from ‘cloud_2.7.21’)
__PASSWORD__ :- users password (supports from ‘cloud_2.7.21’)
For sample script please validate following link
https://drive.google.com/drive/folders/1-XSIlHSnf6UM0JYiaysA5Vg-TdfrMe0I?usp=drive_link
We need to provide Groovy code to run create user, update user, delete user and also recon pull and push (for recon pull we need to add sync script and for recon push we need to add search script)
Note: Please Configure script step by step
Configure test script at initial step and then test configuration for provided script (If configure successfully then only go for step b).
Configure create script and test configuration (If successfully configured then only go for step c).
Configure update script and test configuration (If successfully configured then only go for step d).
Configure delete script and test configuration (If successfully configured then only go for step e).
Configure sync(pull) script and test configuration (If successfully configured then only go for step f).
Configure search(push) script and test configuration (If successfully configured then only go to the next step).
NOTE :- While configuring the database you need to add a jdbc jar for a particular database into connid server (Inside the lib folder of the connid server).